Mergress – progress report

I know, bad pun in the headline.

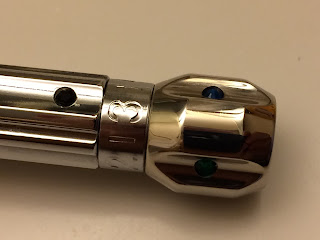
I’ve been using the Mergress Phil generously gave me for a couple of weeks now, and I can easily see how it can be a daily driver or even only razor.

The mechanism works perfectly smooth. The finish is as far as I can tell spotless. The balance is as close to where I like it as it can get. It shaves great with different blades. It’s simply put a great tool for shaving – and it’s blinged out too!

The making of razor blades

I found a picture of a razor blade manufacturing line today that I want to share:

It’s a little unclear if the picture is used to advertise the machines themselves or the blades the Chinese manufacturer makes on them… I don’t read Chinese.

Unfurling like a flower of joy

The Artisania Romera Manchurian Badger I was given by Phil of BullGoose is blooming nicely, it is – to dip into poetic turns for a while – unfurling like a flower of joy.

It is already soft like a fluffy cloud, and easily whips up copious amounts of lather – which it is somewhat reluctant to give up.

1908 Rubberset shaving brush advertisement

First impressions: Tactile Turn Slider

As part of the amazing care package Phil of BullGoose sent me, I received a Tactile Turn Slider.

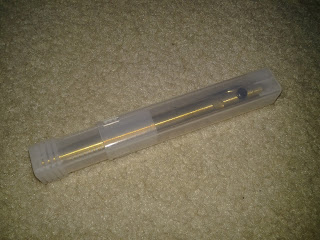
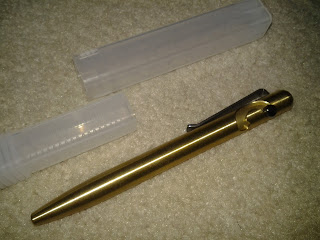
It’s a pen that is a somewhat radical departure from what I usually write with, I tend to be a mechanical pencil and disposable ballpoint kind of writer… and the Tactile Turn Slider is a beautifully machined and heavy piece of brass.

Interesting points to note:

  • The box it came in is the same kind of box I usually see machinist drill bits and reamers come in, which makes a lot of sense since it comes from a machinists
  • The seam between the upper and lower portions of the barrel is not noticeable until you unscrew the pen
  • The tolerances of the moving parts are so fine that the top cap acts as a pneumatic buffer when you close the pen, thus stopping the parts from slamming
  • The clip is significantly stronger than expected, something I believe will help the pen stay put in my pocket

I’m planning to use the Tactile Turn as my my not taking pen the next few weeks as I attend a class, and will report back later with more impressions.

Best care package ever

I’m currently travelling for work, and Phil of BullGoose sent me a care package that’ll make my travels a lot more comfortable and enjoyable.

I knew that Phil is an all round Good Guy™ in addition to being a purveyor in bespoke shave gear, on top of being the man behind of my favourite shave forum. Based on the box I received, I have now reached the conclusion that Phil is in fact downright an Awesome Guy™.

I knew Phil wanted to send me a brush, from an artisan he considered taking into his store but for various reasons it didn’t pan out despite the brushes being highly regarded. I knew Phil said he would include some Asylum brand shaving soap, some aftershave and “a few other things to fill the package”. Phil’s idea of package filler simply blew me away… in a good way.

So what did I get in the box from Phil?

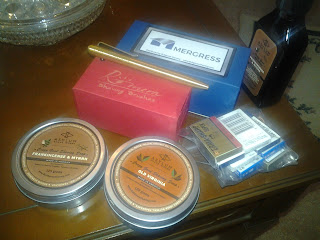
  • Two of his own brand Asylum Shave Work’s tallow soaps – Frankincense & Myrrh and Old Virginia
  • A bottle of Asylum Shave Work aftershave – Frankincense & Myrrh
  • A total of eight tucks of blades – two each of Kai Stainless, green Astra, Polsilver Super Iridium, and Perma Sharp Super
  • A pen – but not Phil’s usual pen with a light on the end, but a TSN LE Tactile Turn Slider
  • A DE razor – and what a razor! A blinged out Mergress Adjustable, a popular razor over on the ‘Nook
  • And a Romera brush with a lovely horn handle – Gustavo Romera has a good reputation as an artisan, less so for his communication

Yeah.. blown away is a major understatement, and calling it a major understatement is a major understatement as well…

Some first impressions:

  • The brush have a 28mm or so knot of Artisania Romera Manchurian Badger hair, and is the first ‘real’ prosumer1 level bagder brush I’ve owned… it feels niiiice, and I havn’t even begun breaking it in. I’m tickled pink over the prospect of seeing and feeling it breaking in over the next few weeks. Gustavo might have a slightly ragged reputation on some forums for his inability to communicate, but this brush feels top notch.
  • The Mergress is another one of Phil’s exclusive offerings; an improved Merkur Progress, fixing any minor issues with the original razor and – allegedly – improving the balance (I’ve not used an original Progress, but the balance of the Mergress is spot in in my eyes). I’m very much looking forward to putting it through it’s paces.
  • The soaps and the aftershave come from Phil’s own brand and simply smells fantastic. Time will tell how well they work,but the reviews that other shavers have left are overall great. Again I’m looking forward to using them for the rest of my trip.
  • Most of the blades are known and liked by me – I have to wonder if Phil reads my SOTD – but the Kai is new to me. Once I gotten to know the Megress with the help of a Green Astra, I’ll have to see what the Japanese Kai can do for me.
  • The Tactile Turn Slider is a lovely artisan pen, with a wonderful steampunk vibe. My handwriting is usually like a monkey on meth, but I still look forward to using this pen.

So a big Thank You to Phil, for his amazing generosity and for making my travels so much better.

1) Per etymology 2; targeted at serious, enthusiastic consumers, incorporating professional features.

Getting ready to fly – carry on shave kit for long layover

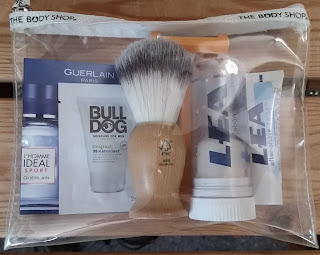
Work is sending me on a long course far, far away.. so I figured I should be ready if I found a nice restroom during my almost eight hour layover (my job buys the cheapest tickets):

From the left: A sample-sized cologne, a sample-sized face moisturiser, one of my old BodyShop Synthetics, a disposable BiC Sensitive, what is left of my Lea shave stick, and a sample-sized Lea after-shave balsam (already half used up) – all packed in a see through plastic  toiletry bag, ready to be checked by security at the airport.

Ready for the Day with a Clean, Wholesome Face

Single blades have been used… …up to 142 times.

Den improvement

A post that is relevant and off topic at the same time. Funny how it works out at times.

If you want something done right, do it yourself… and if you want to be sure, do it twice. Or rather; if you’re doing something you haven’t done before, in a material you don’t want to go to waste, it can be a good idea to make a prototype or full size model.

More details and loads of photos after the jump:

To back up one step; the shelf in my bathroom was simply too small for what I wanted to put on it. I decided to make a new one, but since teak is expensive, I ripped a piece of pine into the same size as the teak plank I had bought for the project. This let me not only make sure the idea I had didn’t use up more wood than I had available, but also let me do a test fit in the bathroom to make sure the shelf would fit in it’s intended position.

Tools used was a table saw, an electrical drill, files, sandpaper and a ratcheting screwdriver with interchangeable bits… and patience.

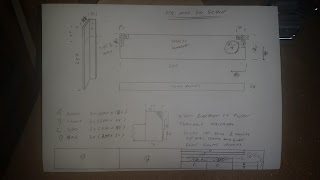
 Every project needs a plan, and this was my detailed plan for the shelf I wanted – including a cutting diagram for the plank of wood.
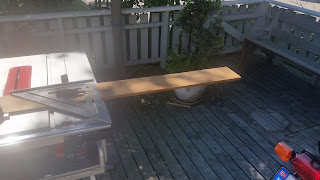
 A piece of pine was ripped into the same dimension as the teak (12 x 120 x 2000 mm)
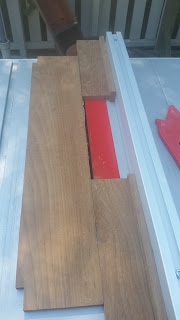
 I had planned to use my miter saw to cut the shelves, but the table saw was already out and sometimes the right tool is the tool at hand.
  
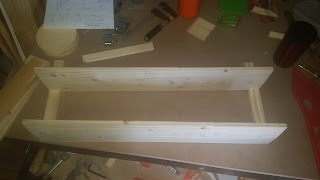
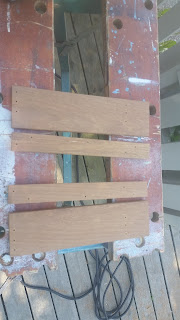
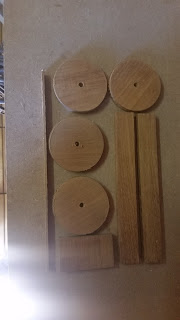
 The pieces of the pine prototype laid out; two shelves, two front lips, two side pieces and two back pieces.
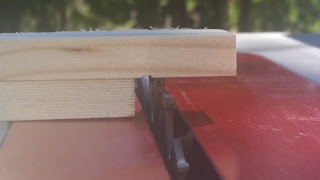
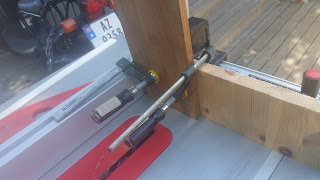
Adjusting the depth of the cut before making cut outs in the shelves. 

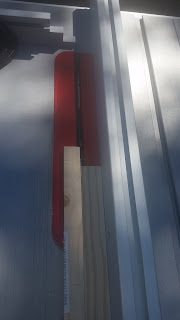
 Adjusting the with of the cut before making the cut out for the back pieces in the shelves.
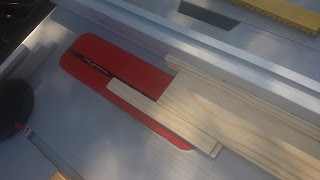
 Testing the size of the cut out in an old piece of wood before cutting the actual shelf.
 The cut outs for the back pieces done.
 Adjusting the with of the cut for the side pieces – keeping in mind that the back pieces have to be taken into account as well.
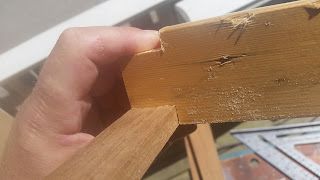
 Test fitting the back and side pieces.
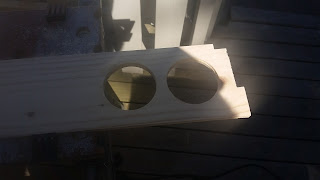
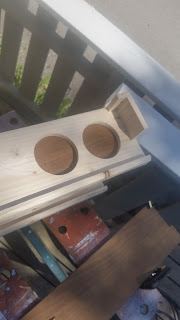
 Each shelf needs two holes cut, cut out with a drill powered hole saw.
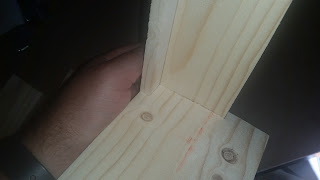
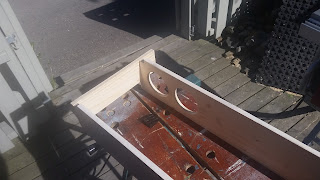
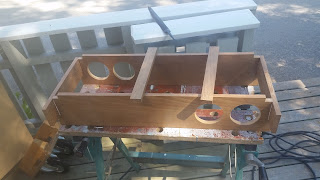
  Starting the assembly – wood glue and screws make for a solid connection between the sides, backs and shelves. Care was taken to make sure everything was squared up at this point.
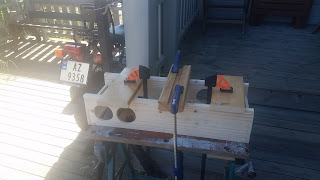
 The two lips on the front of the shelves were secured with glue only, since they don’t carry any load and it looks better that way.
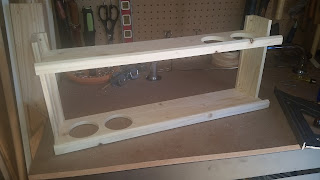
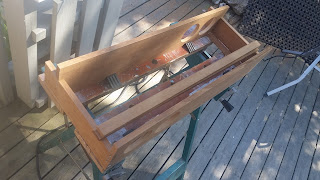
 The pine prototype ready to be test fitted in the bathroom.
With the prototype made, tested and approved, it was time to start cutting the teak… it’s the first time I have worked with an exotic wood on this scael, and great care was taken in measuring everything at least twice. 
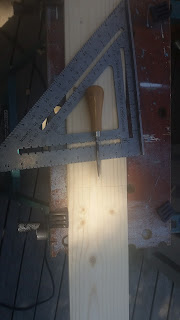
  Measuring out the first shelf – the second shelf was measured directly from the first.
 Adjusting the width before cutting the lips.
 Using the pine prototype for setting the length of the back and side pieces.
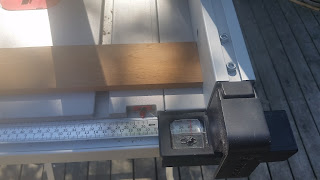
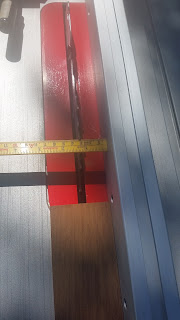
 Aaaand doing a sanity check with the built in cm-scale. Measure twice and all that.
 Setting the width of the cut for the back pieces.
 Using the freshly cut back pieces and one of the shelves to set the width of the cut out.
 And off course, setting the correct dept of the cut too.
 Using the same piece of old wood, making sure the cut out is sized correctly.
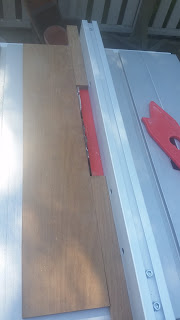
 Setting the width of the cut for the cut out for the side pieces.
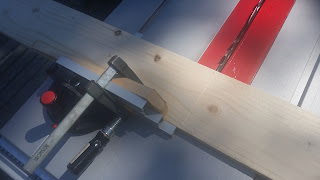
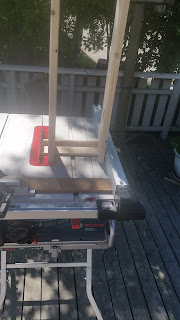
  One of the lessons identified from making the prototype was the need to have secure control of the shelf when making the cut out on the narrow side. Securing the shelf to a sacrificial piece of wood solved the problem, and kept my fingers well away from the blade.
 A nice, clean cut.
 All the pieces cut and ready.
   Using the prototype to mark out where the holes go in the shelves.
 And the holes cut and sanded.
 Unlike the soft pine prototype, I decided to predrill all the screw holes in the teak.
 Starting the assembly. With the experience of the prototype, and the predrilled holes, the assembly was done fairly quickly.
 Side pieces on, and ready to mark out the mounting holes on the back pieces.
 Preparing to mount the lips on the shelves.
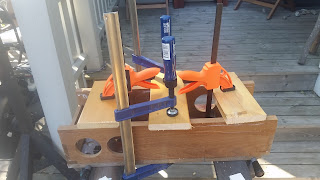
 The lips glued in place and put under pressure with a few clamps.
 While the glue was curing, I tidied up. Thanks to making a detailed plan, this is the entirety of the “wasted” teak – and I already plan to use the two rectangular pieces to make gliders on a small crosscut sled for my table saw, so they are not really wasted.
 Thanks to accurate measuring, the screws slid right into the wall anchors that used to hold the old shelf.
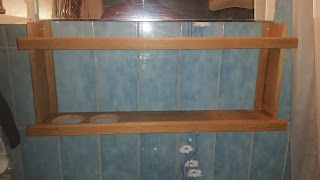
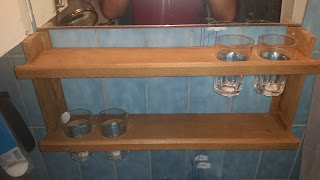
 Pop in four glasses for storing things like toothbrushes, combs and hair scissors, and it’s ready to go. More than twice as much space as the old shelf, all without obscuring the bottom of the mirror like the old shelf did.
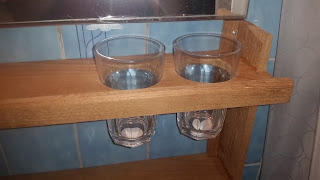
Just a close up of the glasses. They are cheap ones from the local equivalent of Big Lots or Save A Lot… cheap enough that I picked up two spares.

In the end both my Better Half and myself are very happy with the new shelf – we both got the space we need to keep our things in order, and none of it sits on the actual sink.

The main guideline throughout the project was “measure twice, cut once” – as opposed to the more common “measure with micrometer, mark with chalk, chop with axe” method – and it paid off. I believe anyone can make a shelf like this, even without power tools – it’ll just take a bit more time and elbow grease.

Another new arrival

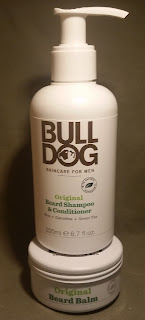
Since I’m happy with their face scrub and moisturiser, I decided to pick up some beard shampoo and beard balm.