A post that is relevant and off topic at the same time. Funny how it works out at times.
If you want something done right, do it yourself… and if you want to be sure, do it twice. Or rather; if you’re doing something you haven’t done before, in a material you don’t want to go to waste, it can be a good idea to make a prototype or full size model.
More details and loads of photos after the jump:
To back up one step; the shelf in my bathroom was simply too small for what I wanted to put on it. I decided to make a new one, but since teak is expensive, I ripped a piece of pine into the same size as the teak plank I had bought for the project. This let me not only make sure the idea I had didn’t use up more wood than I had available, but also let me do a test fit in the bathroom to make sure the shelf would fit in it’s intended position.
Tools used was a table saw, an electrical drill, files, sandpaper and a ratcheting screwdriver with interchangeable bits… and patience.
Every project needs a plan, and this was my detailed plan for the shelf I wanted – including a cutting diagram for the plank of wood.
A piece of pine was ripped into the same dimension as the teak (12 x 120 x 2000 mm)
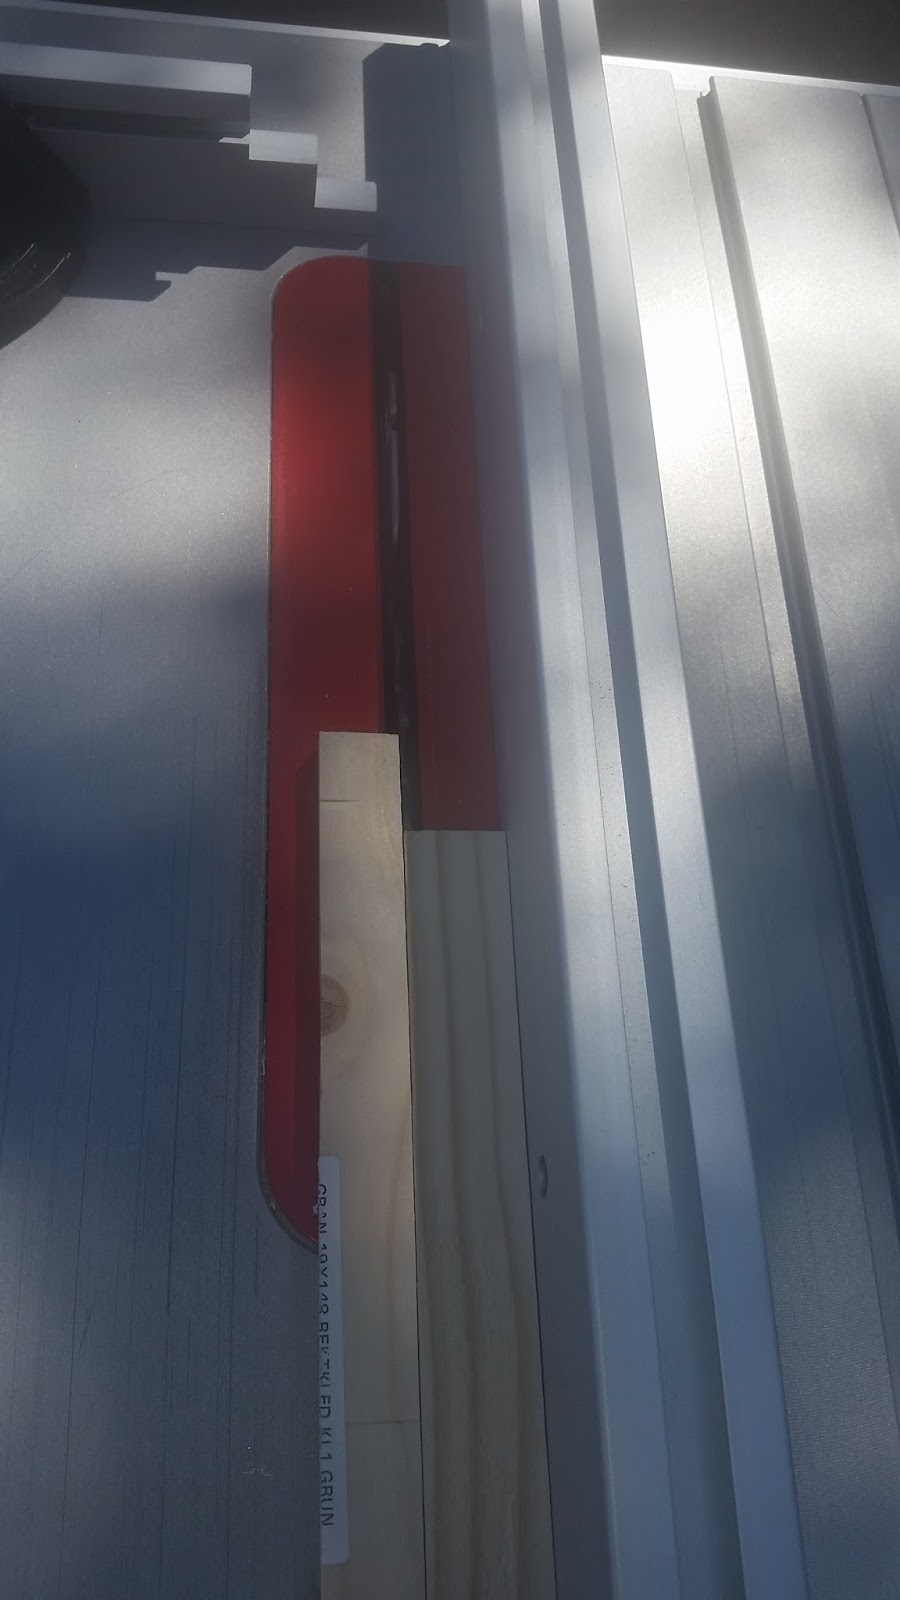
I had planned to use my miter saw to cut the shelves, but the table saw was already out and sometimes the right tool is the tool at hand.
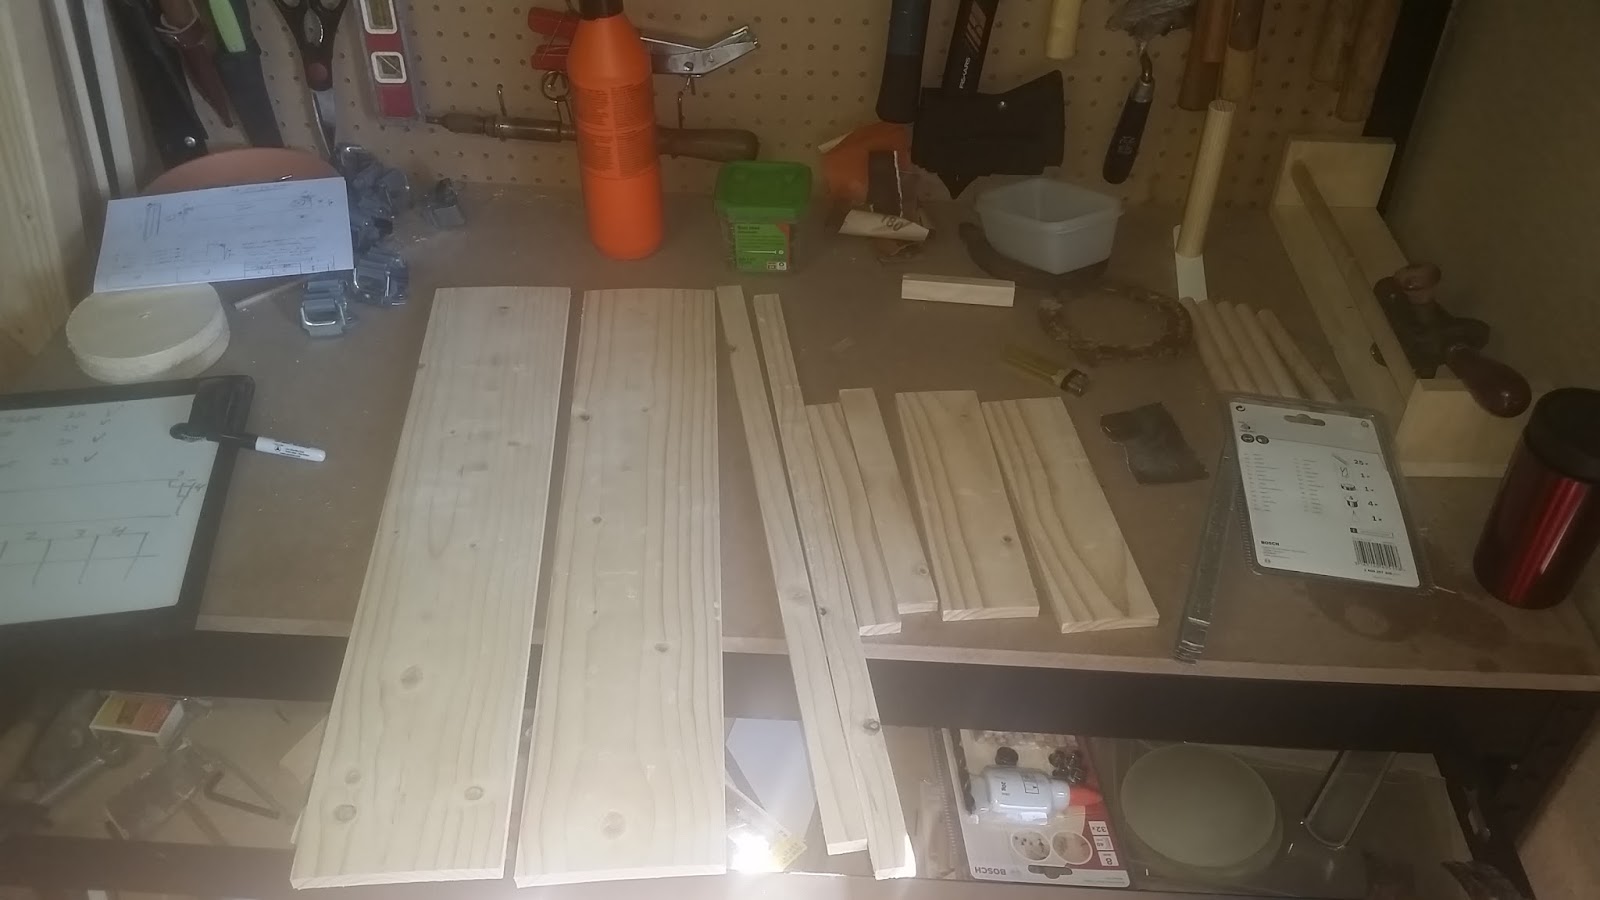
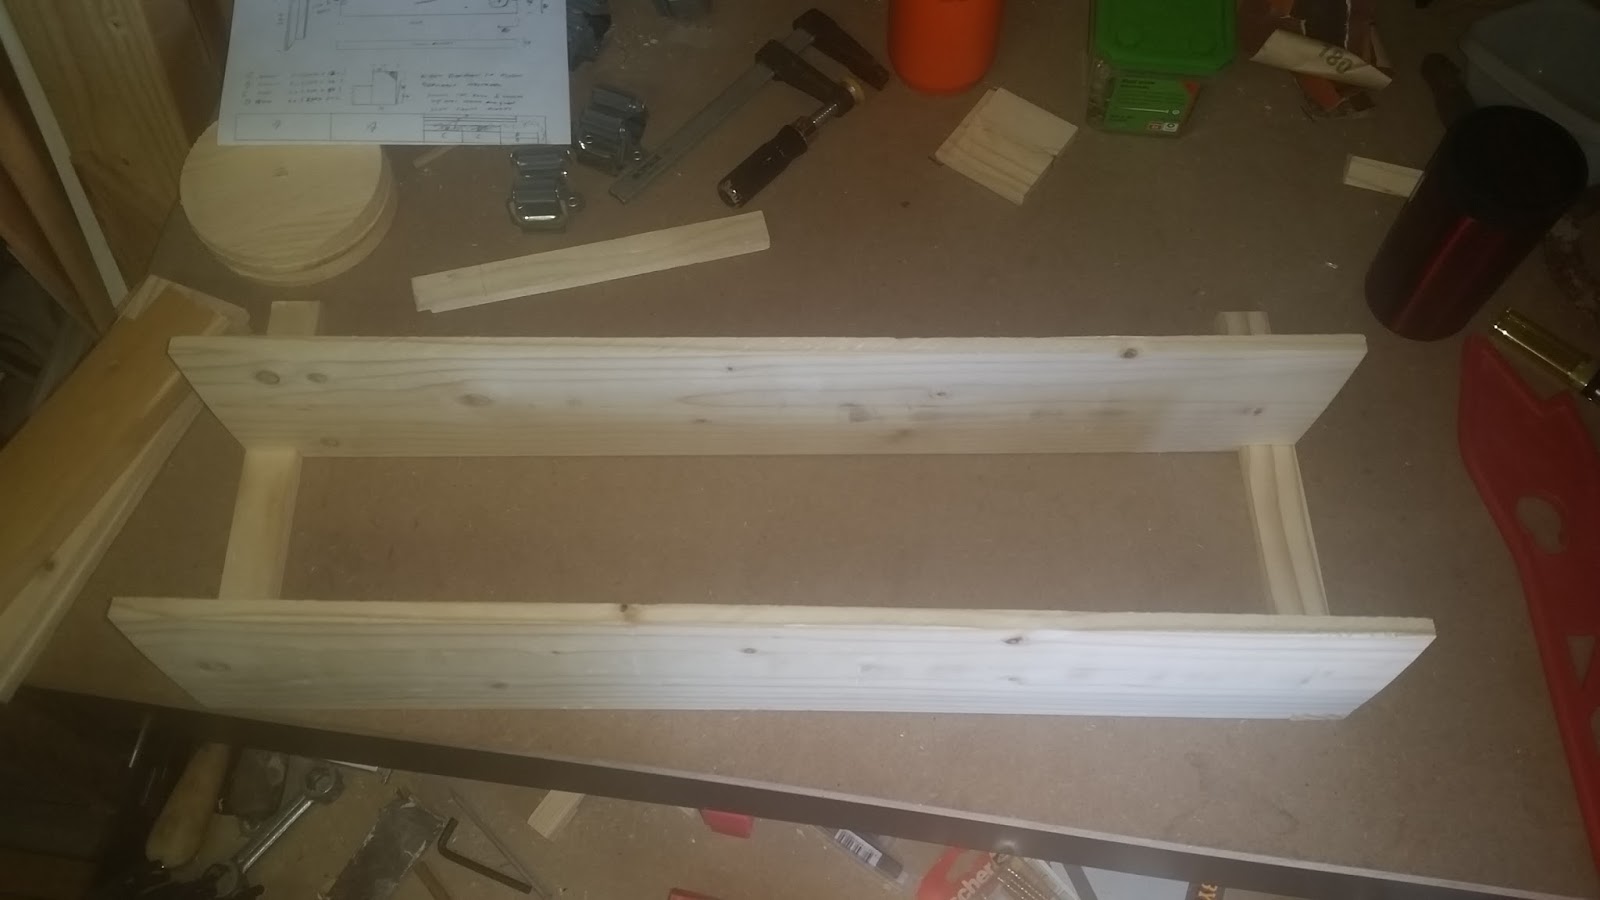
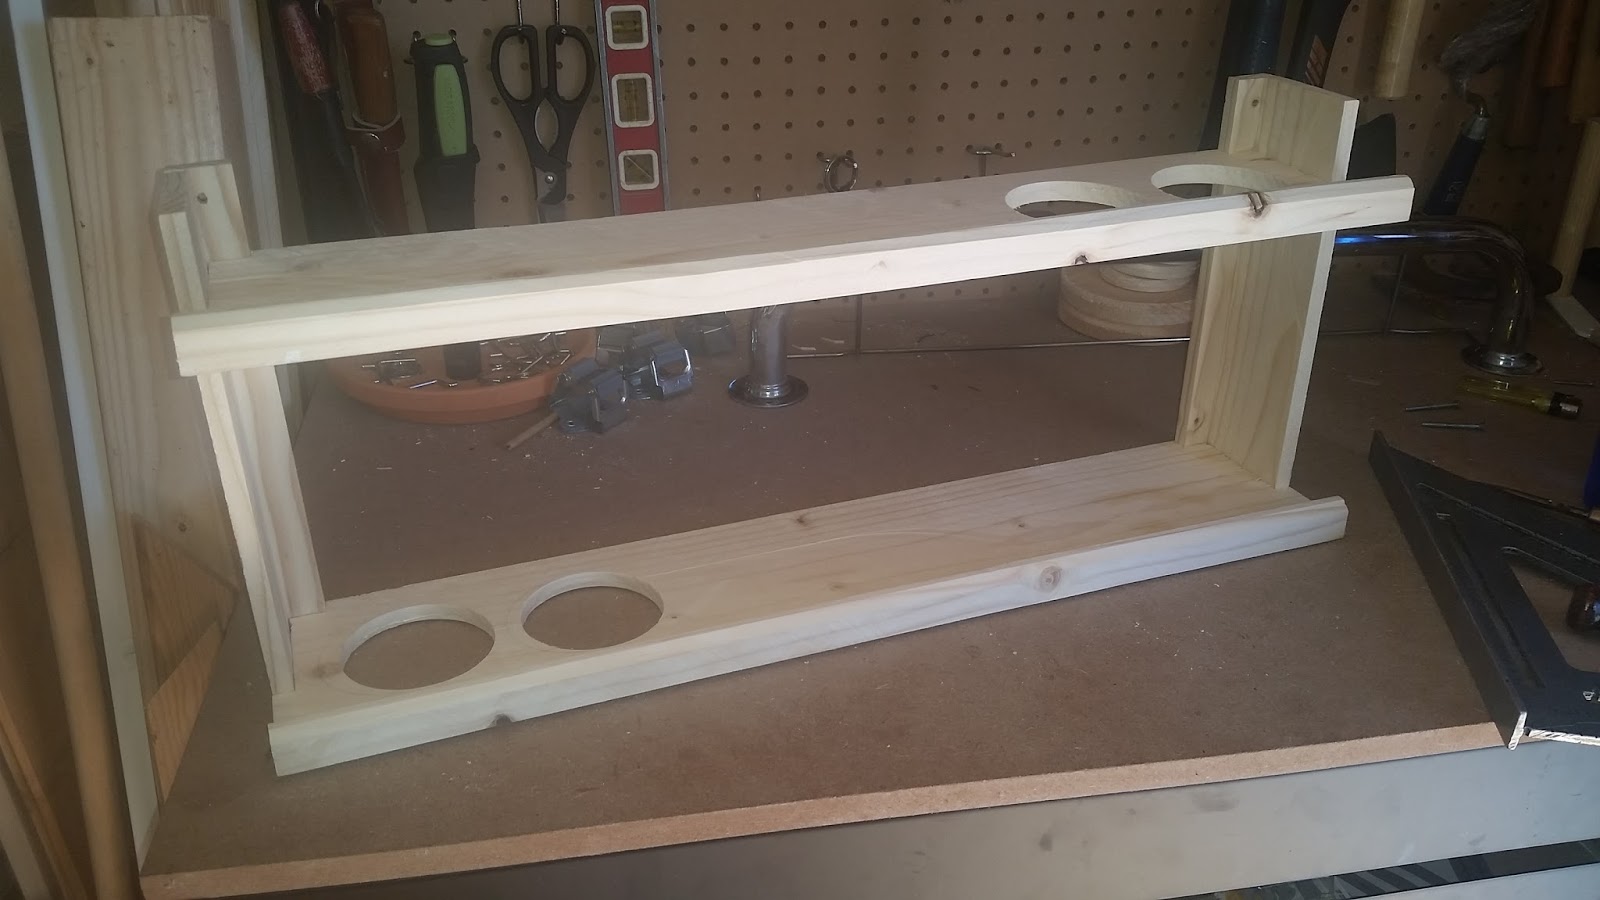
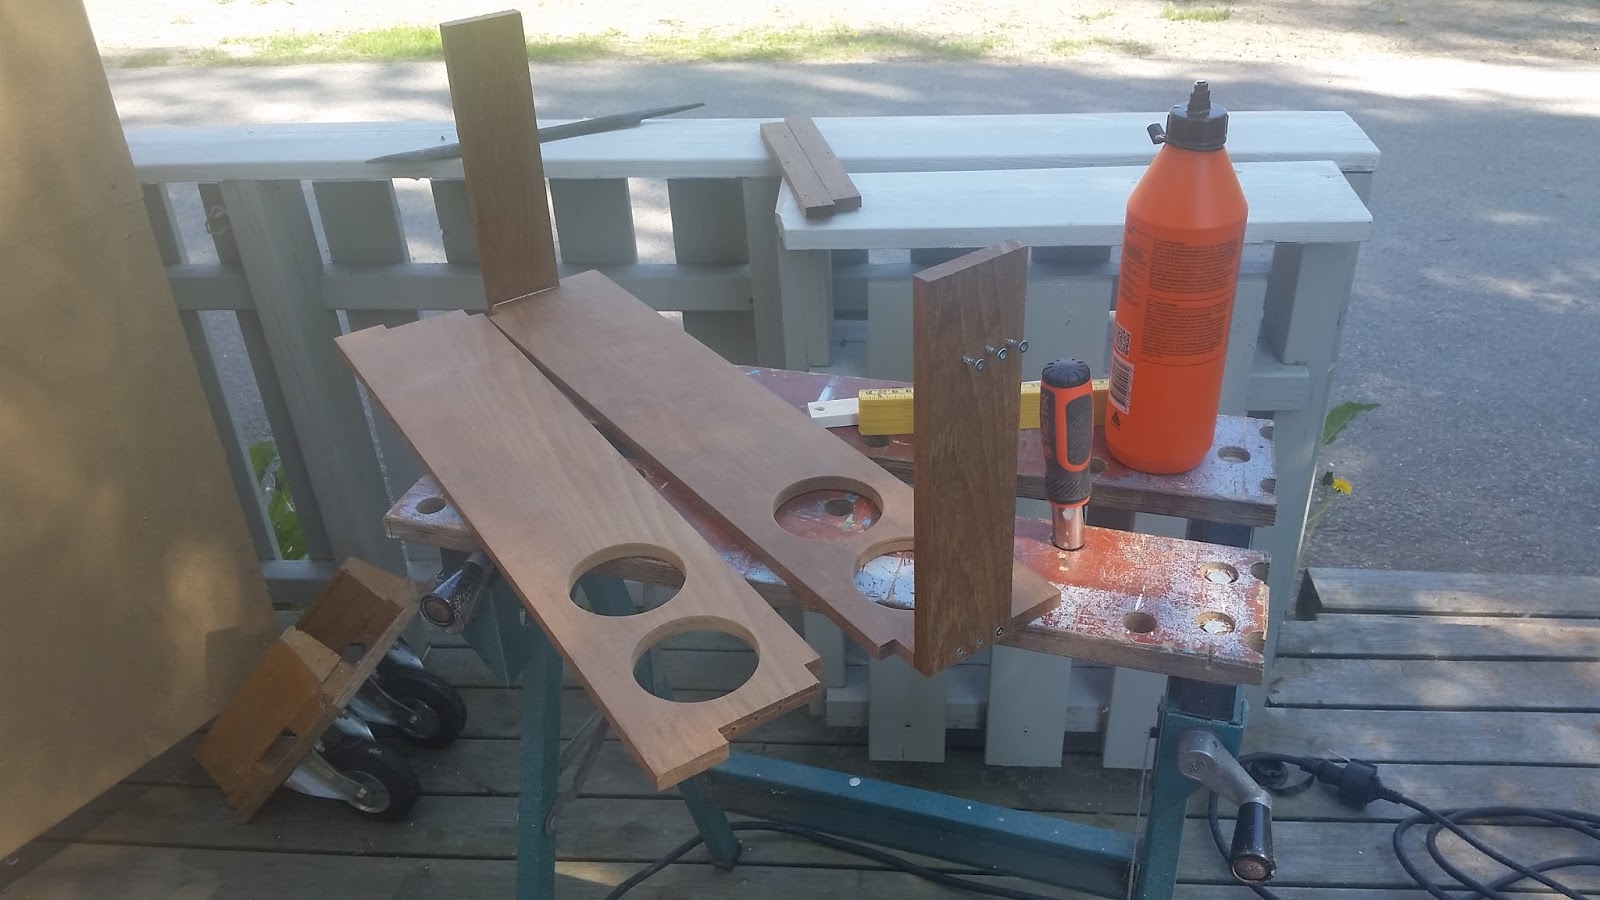
The pieces of the pine prototype laid out; two shelves, two front lips, two side pieces and two back pieces.
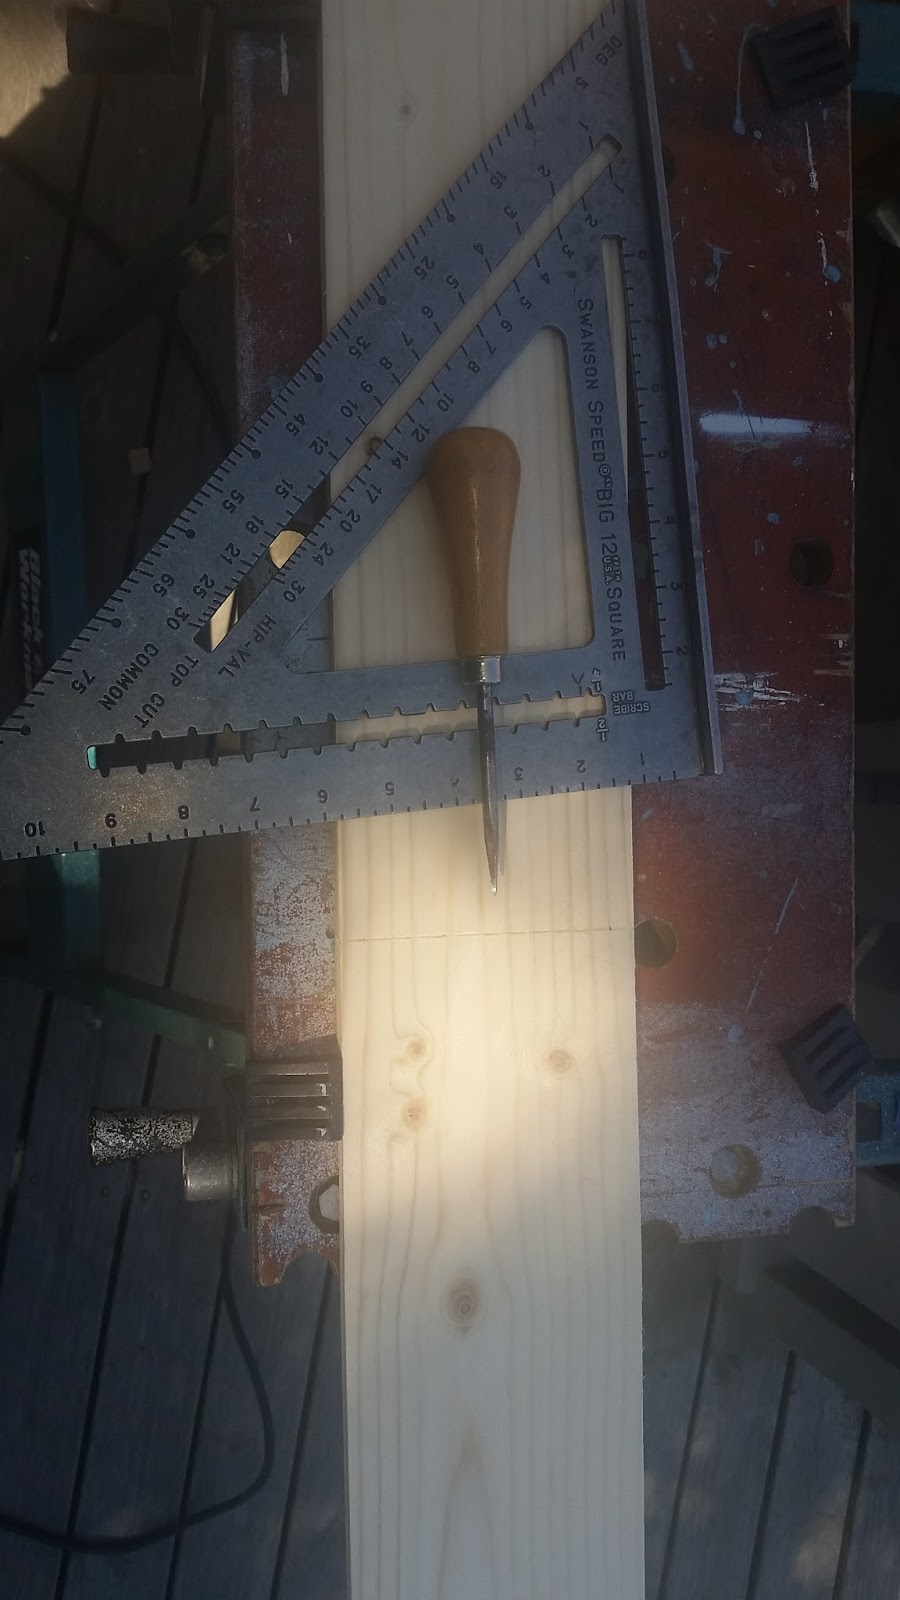
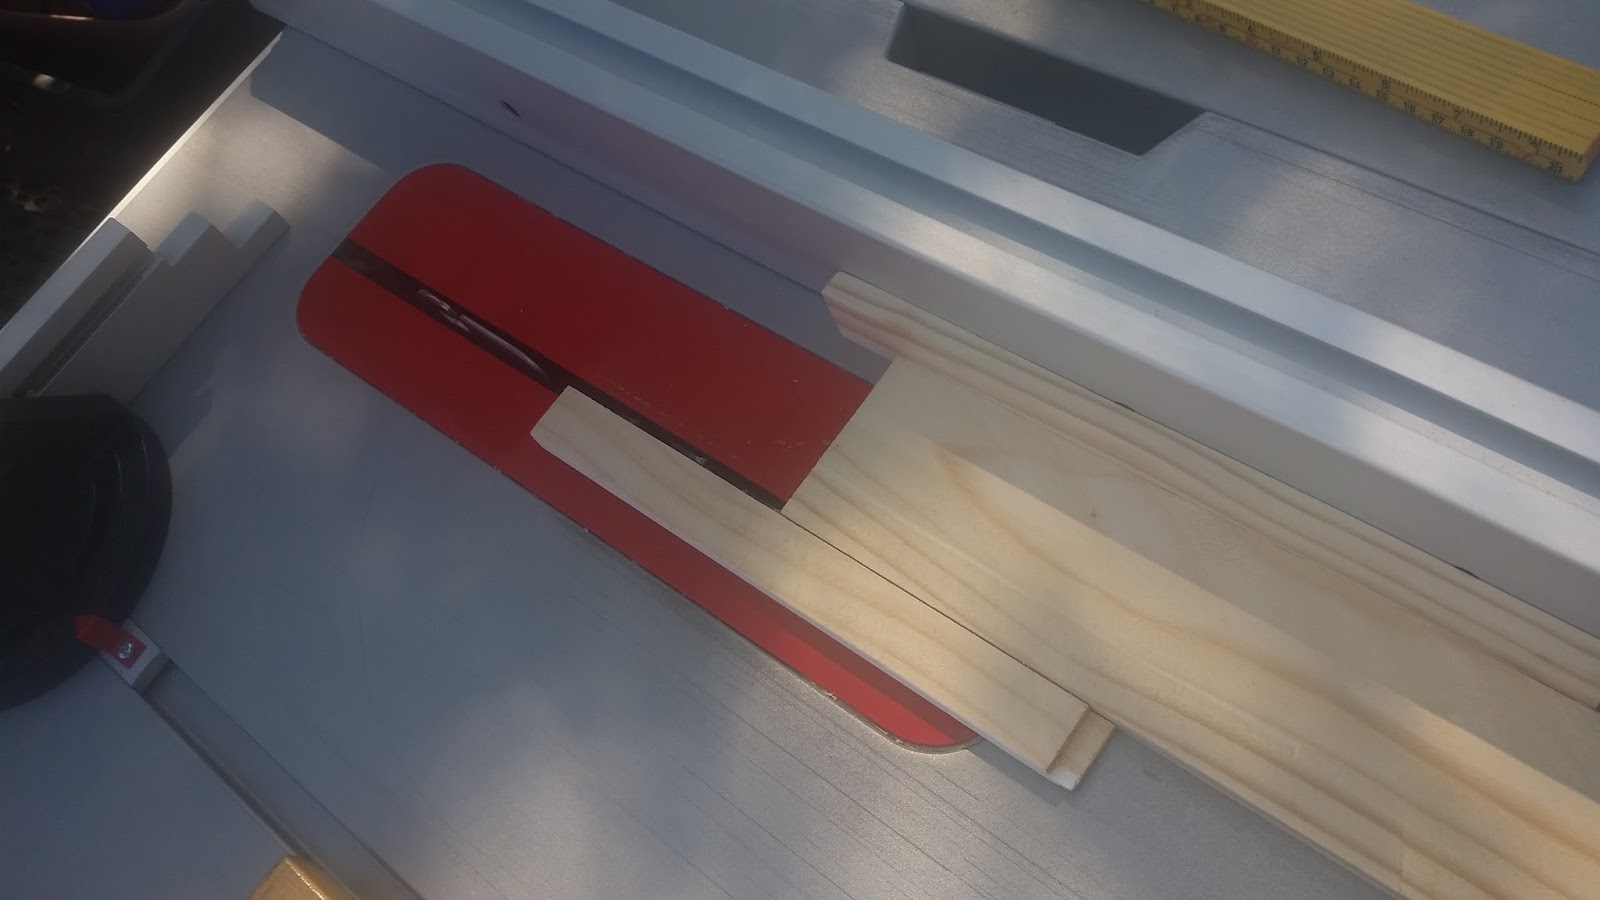
Adjusting the depth of the cut before making cut outs in the shelves.
Adjusting the with of the cut before making the cut out for the back pieces in the shelves.
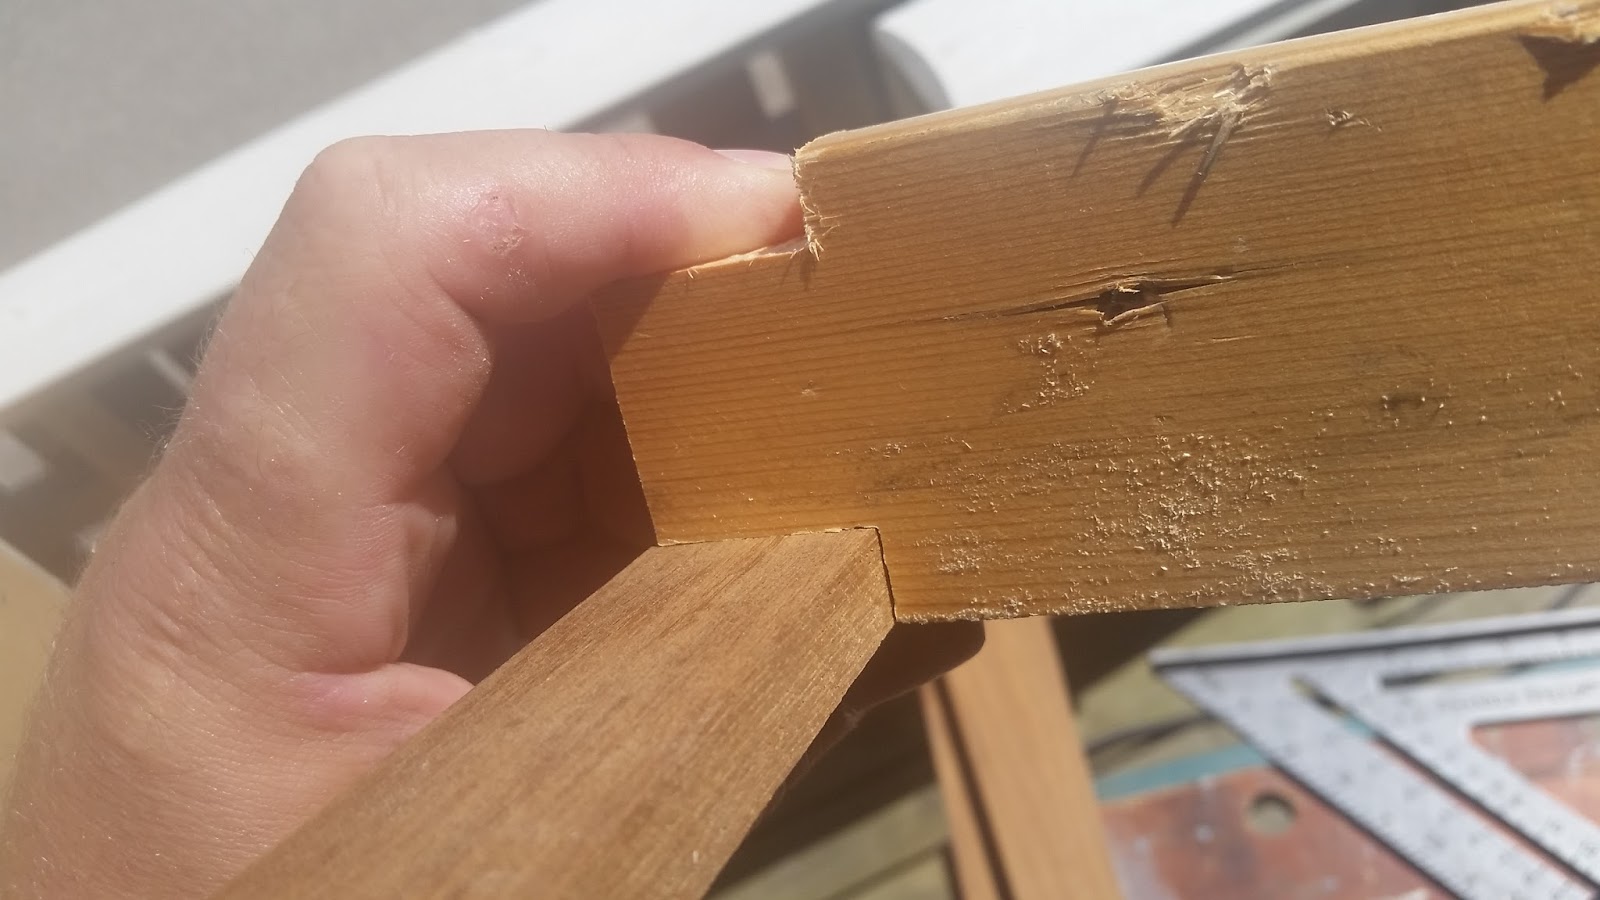
Testing the size of the cut out in an old piece of wood before cutting the actual shelf.
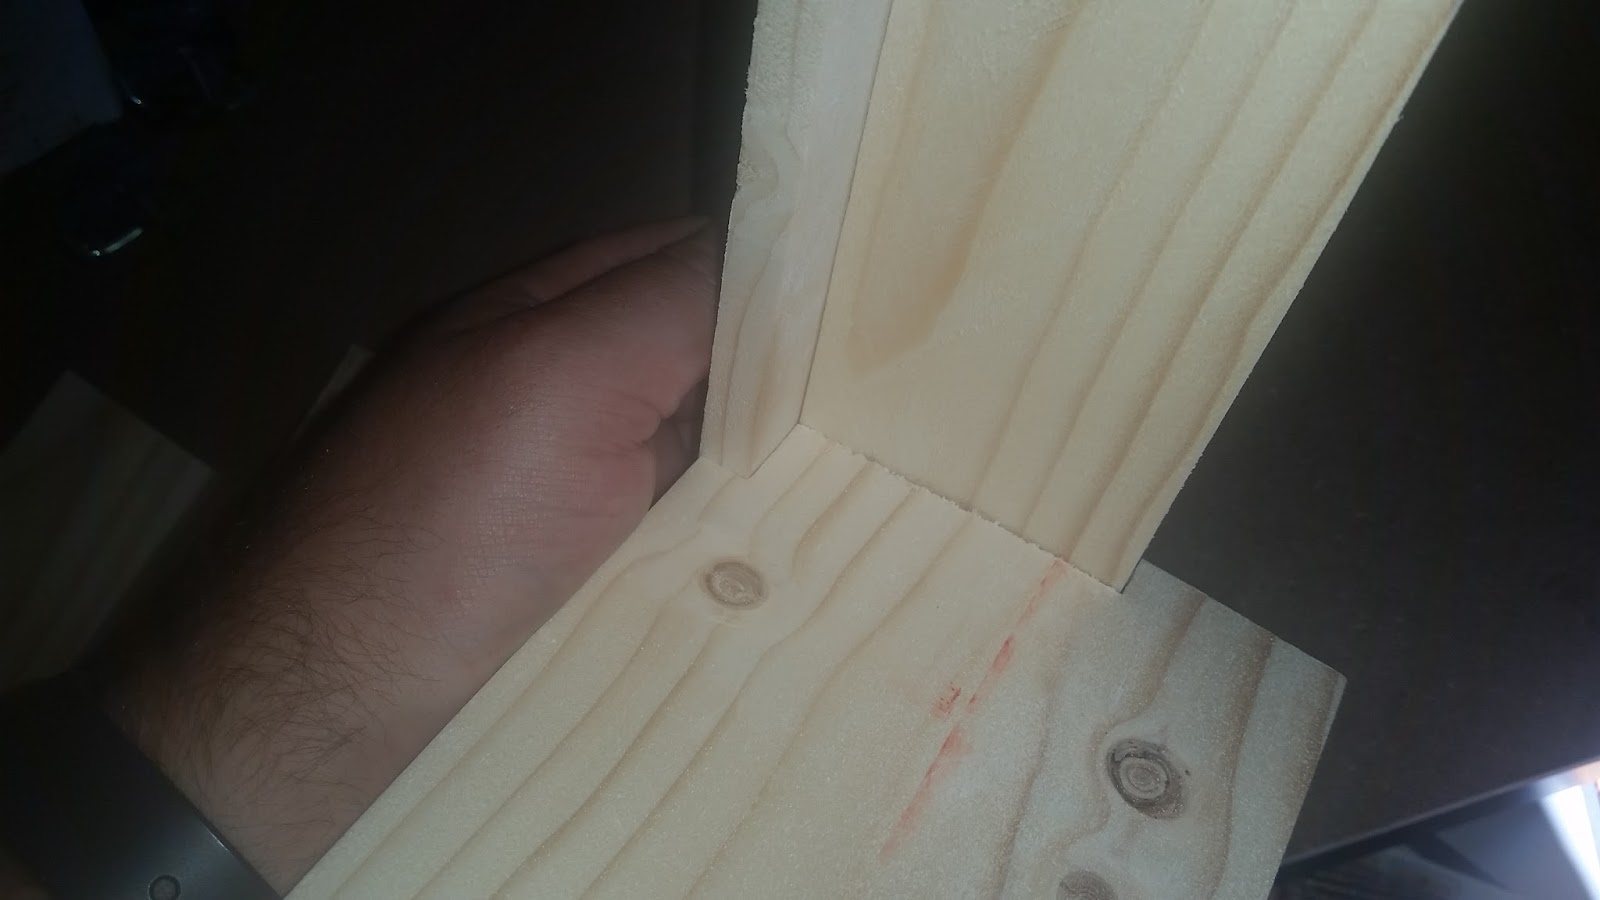
The cut outs for the back pieces done.
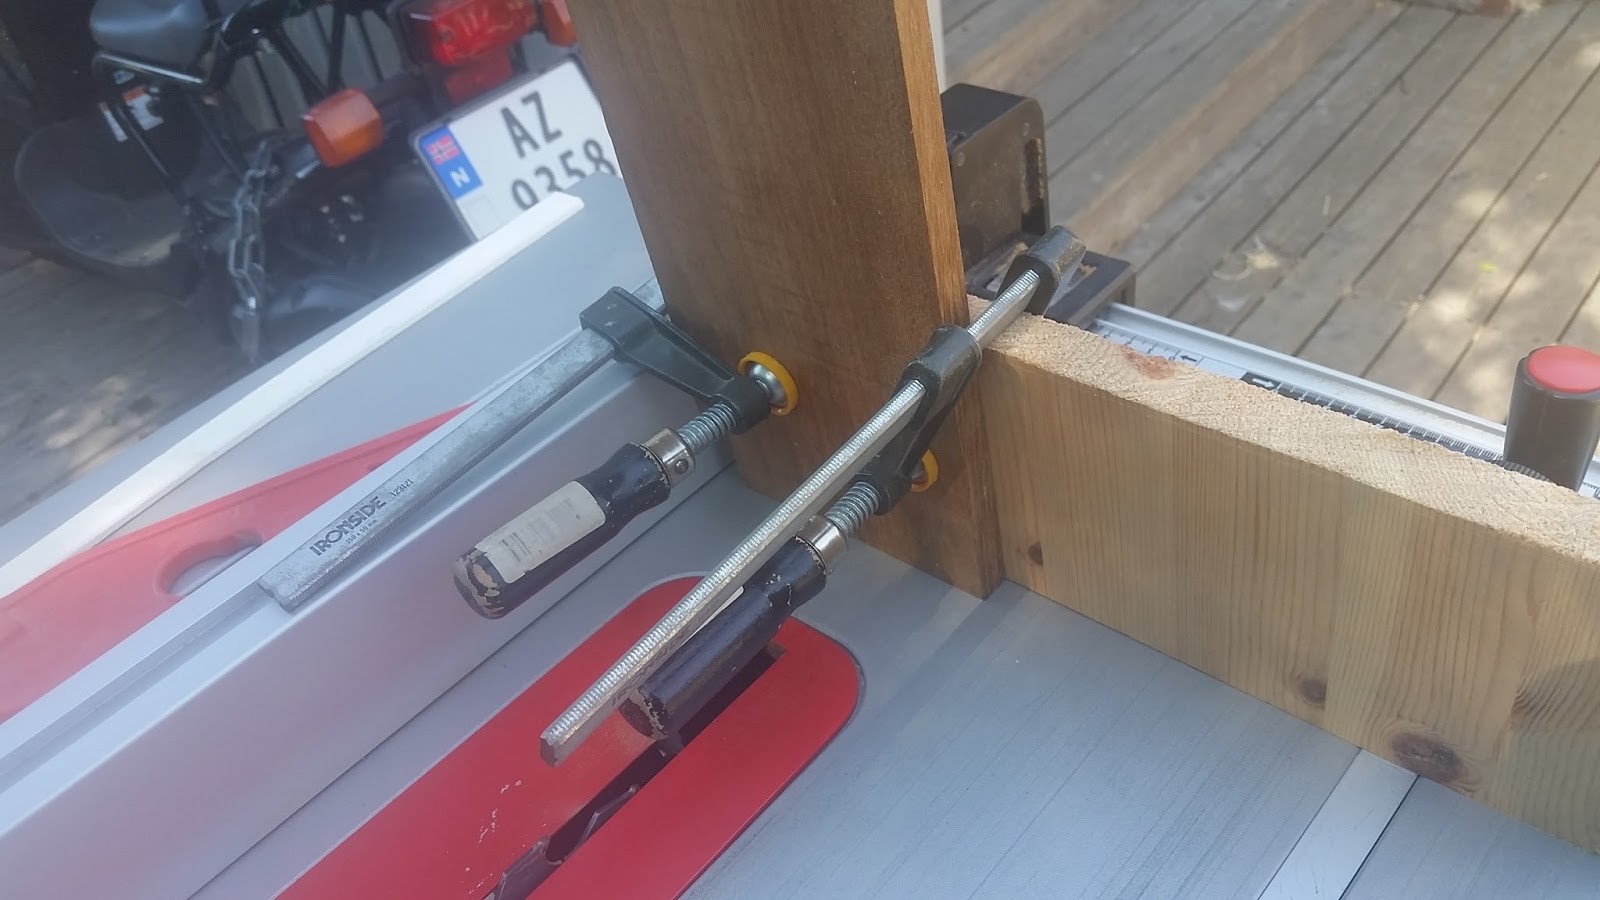
Adjusting the with of the cut for the side pieces – keeping in mind that the back pieces have to be taken into account as well.
Test fitting the back and side pieces.
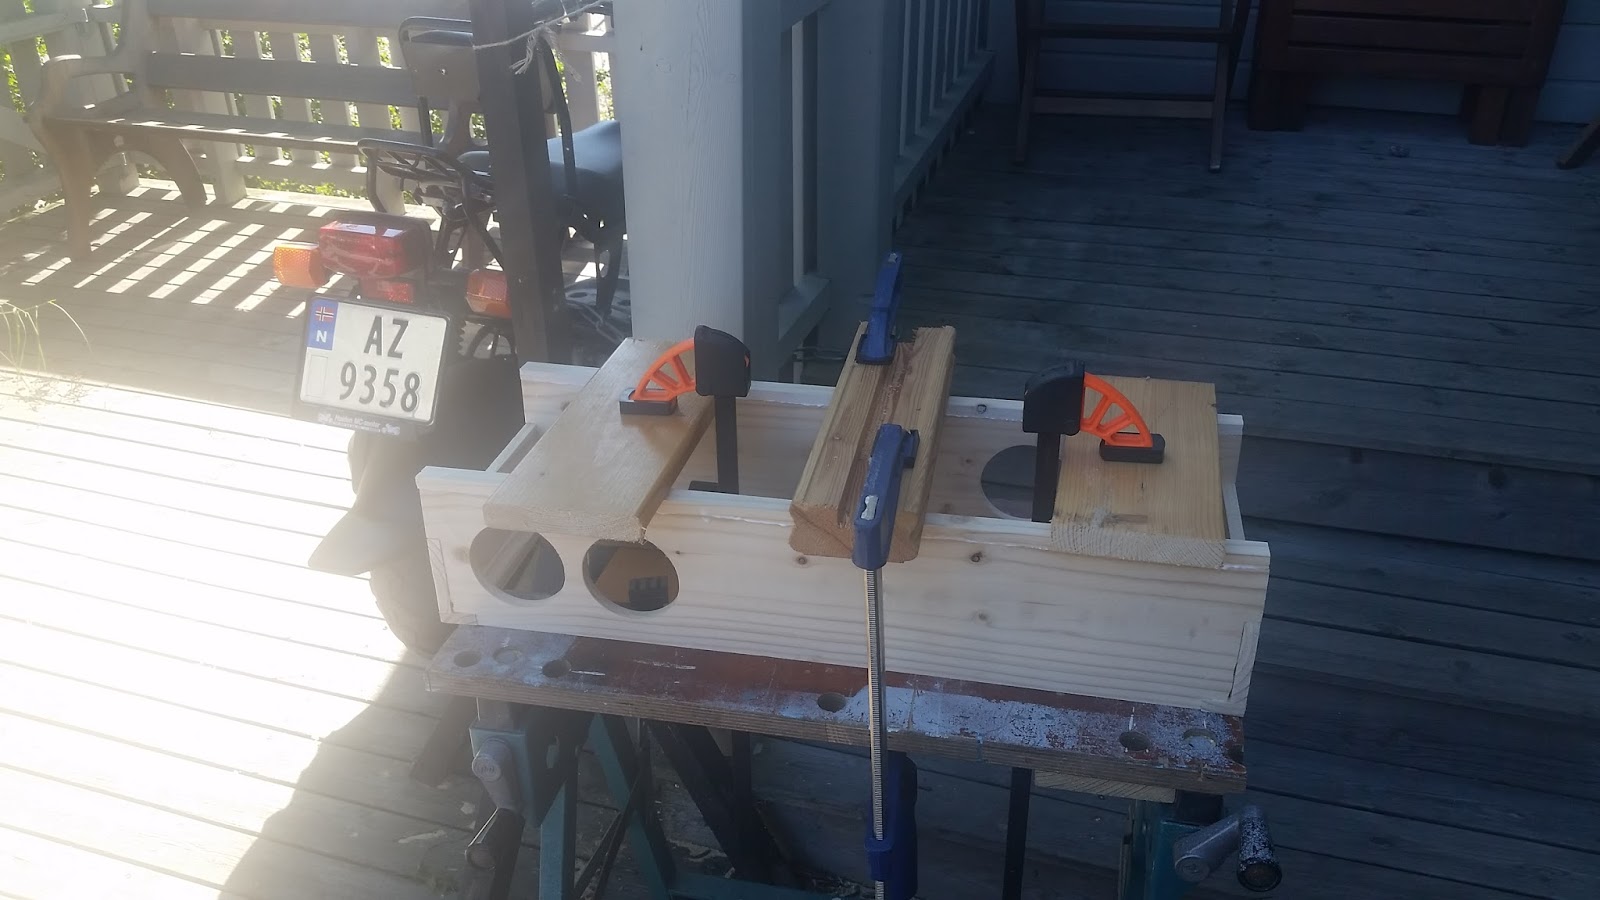
Each shelf needs two holes cut, cut out with a drill powered hole saw.
Starting the assembly – wood glue and screws make for a solid connection between the sides, backs and shelves. Care was taken to make sure everything was squared up at this point.
The two lips on the front of the shelves were secured with glue only, since they don’t carry any load and it looks better that way.
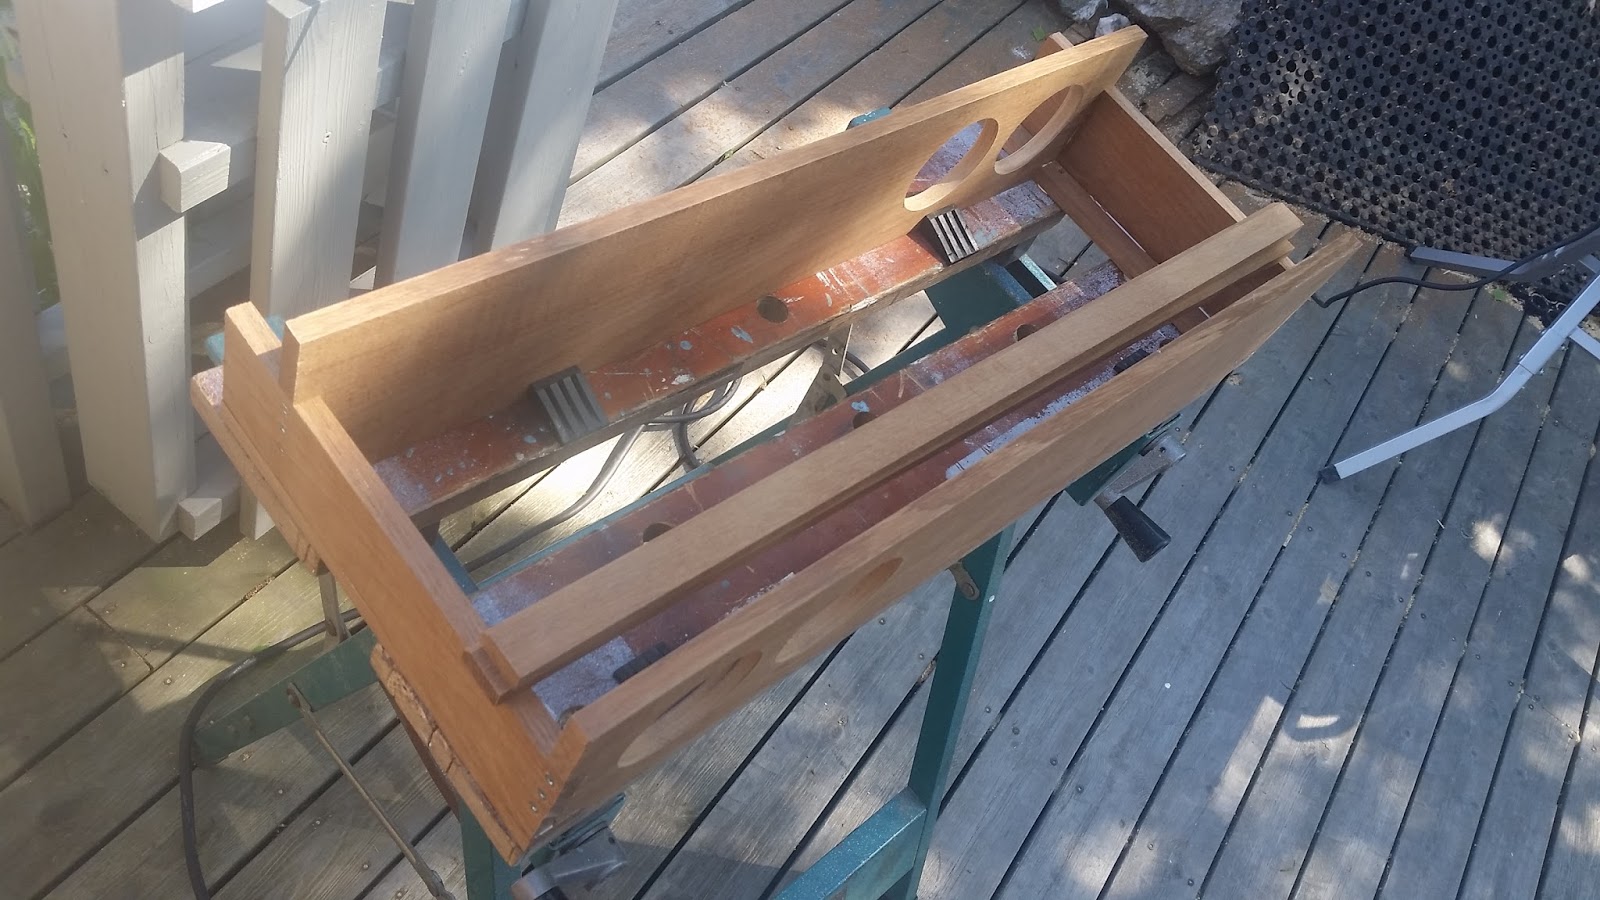
The pine prototype ready to be test fitted in the bathroom.
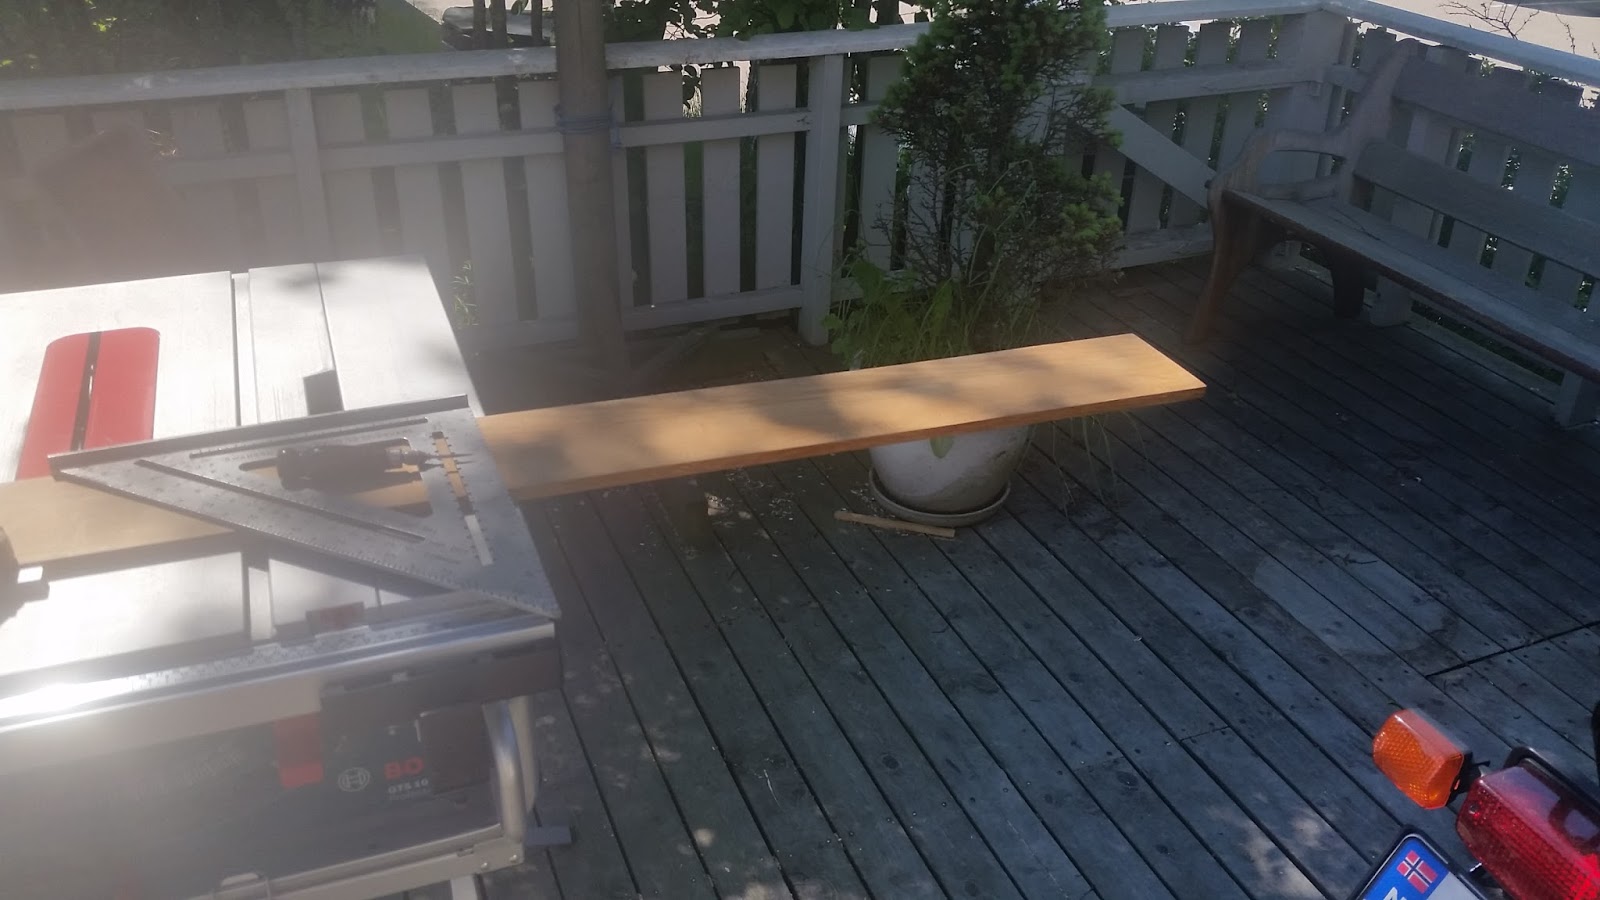
With the prototype made, tested and approved, it was time to start cutting the teak… it’s the first time I have worked with an exotic wood on this scael, and great care was taken in measuring everything at least twice.
Measuring out the first shelf – the second shelf was measured directly from the first.
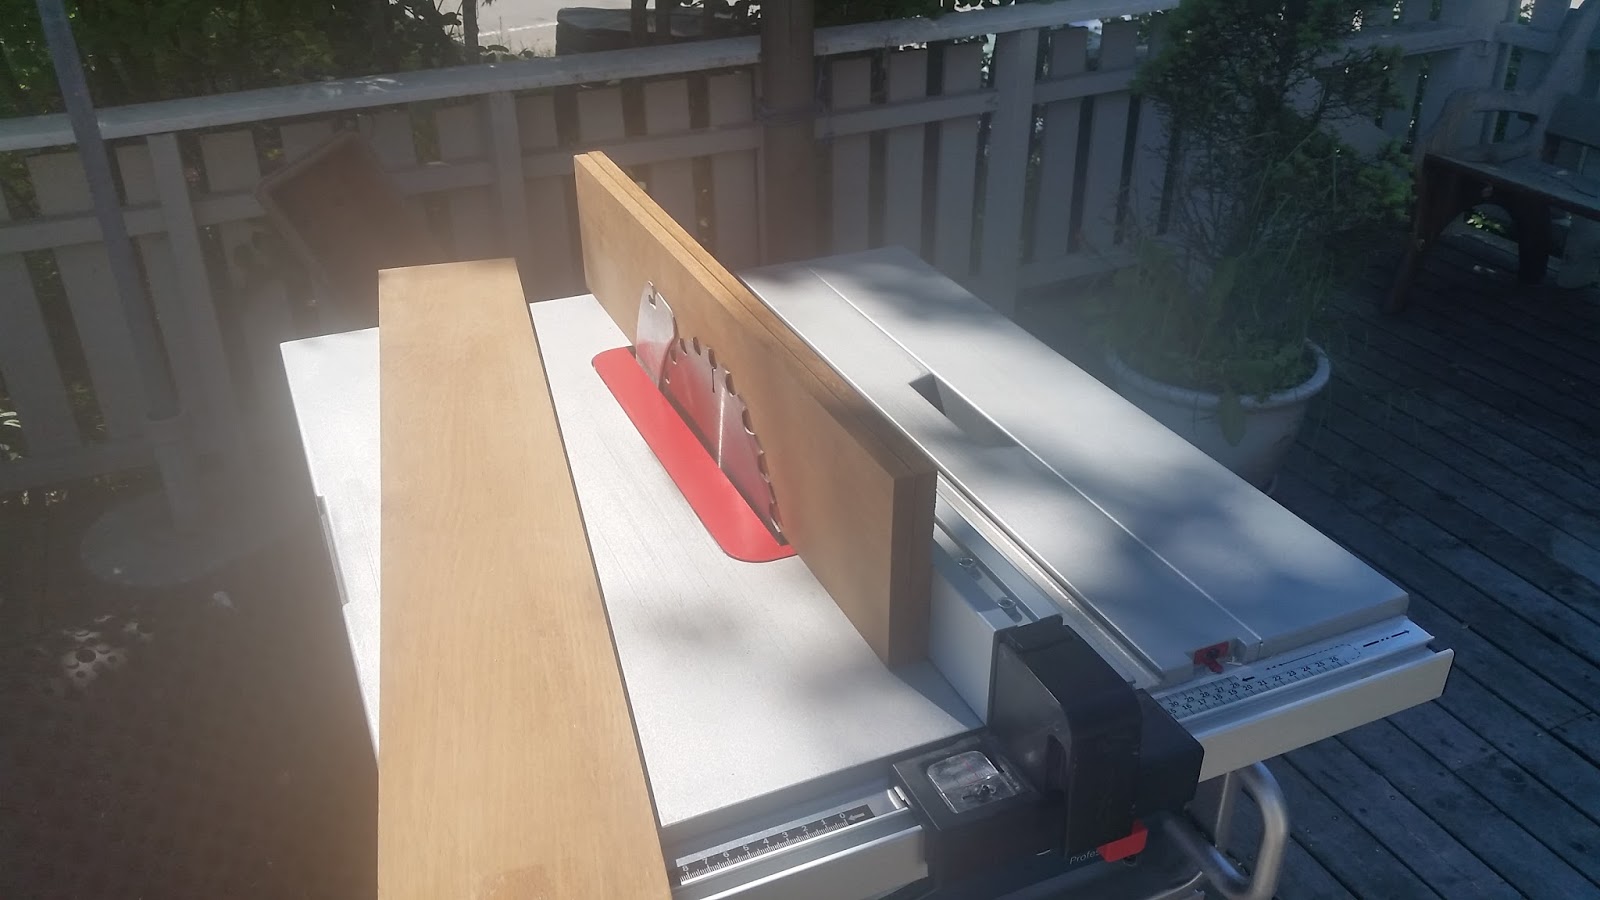
Adjusting the width before cutting the lips.
Using the pine prototype for setting the length of the back and side pieces.
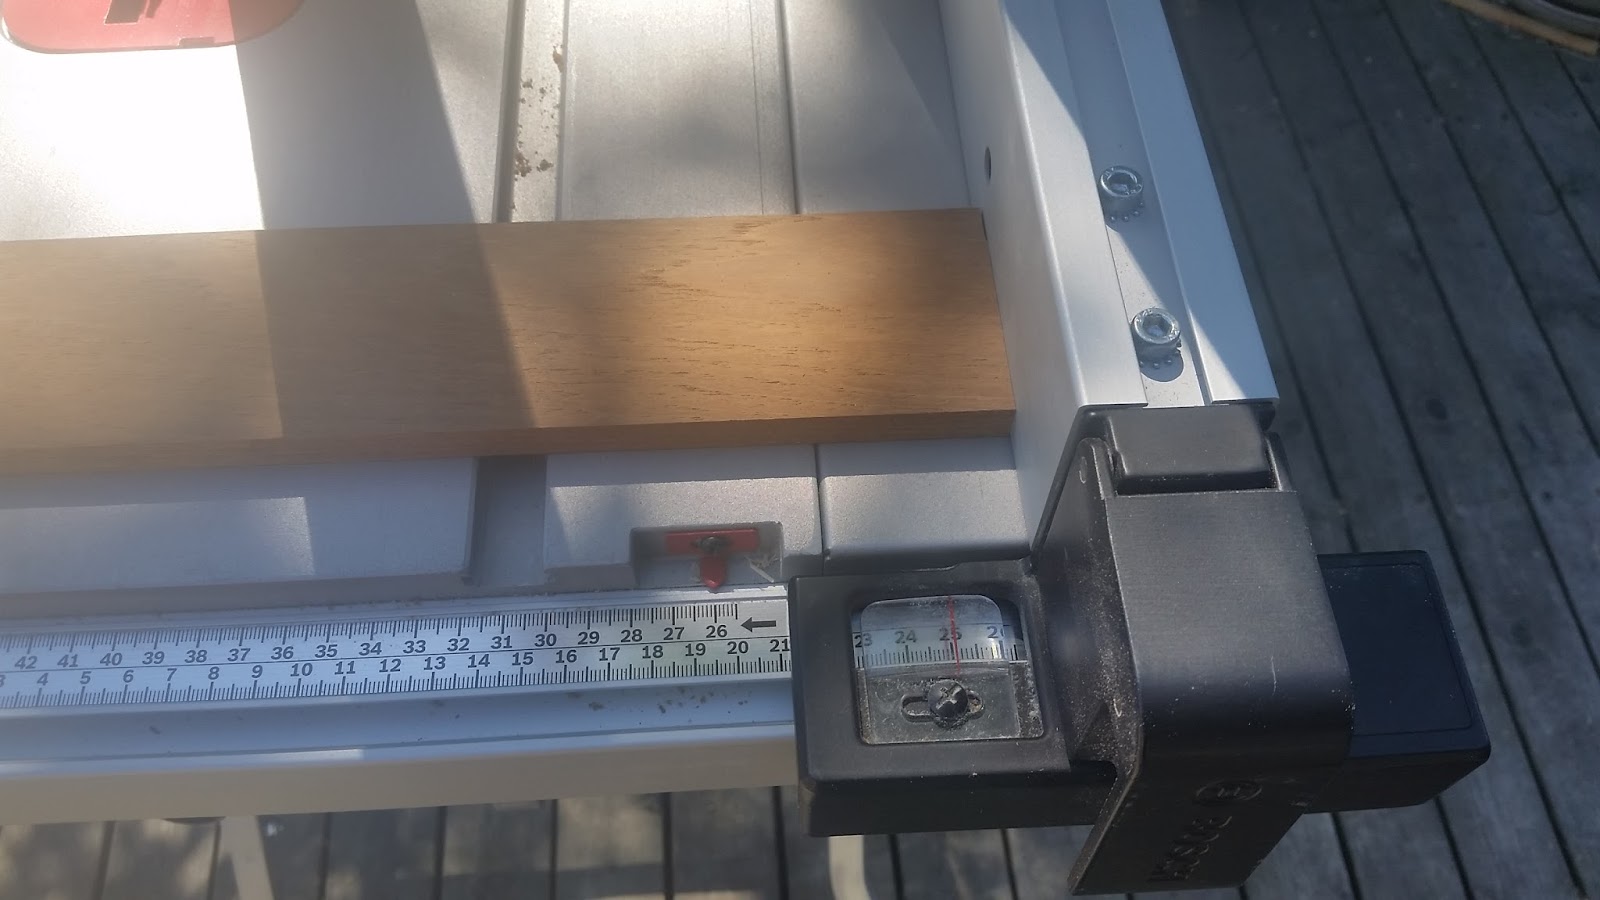
Aaaand doing a sanity check with the built in cm-scale. Measure twice and all that.
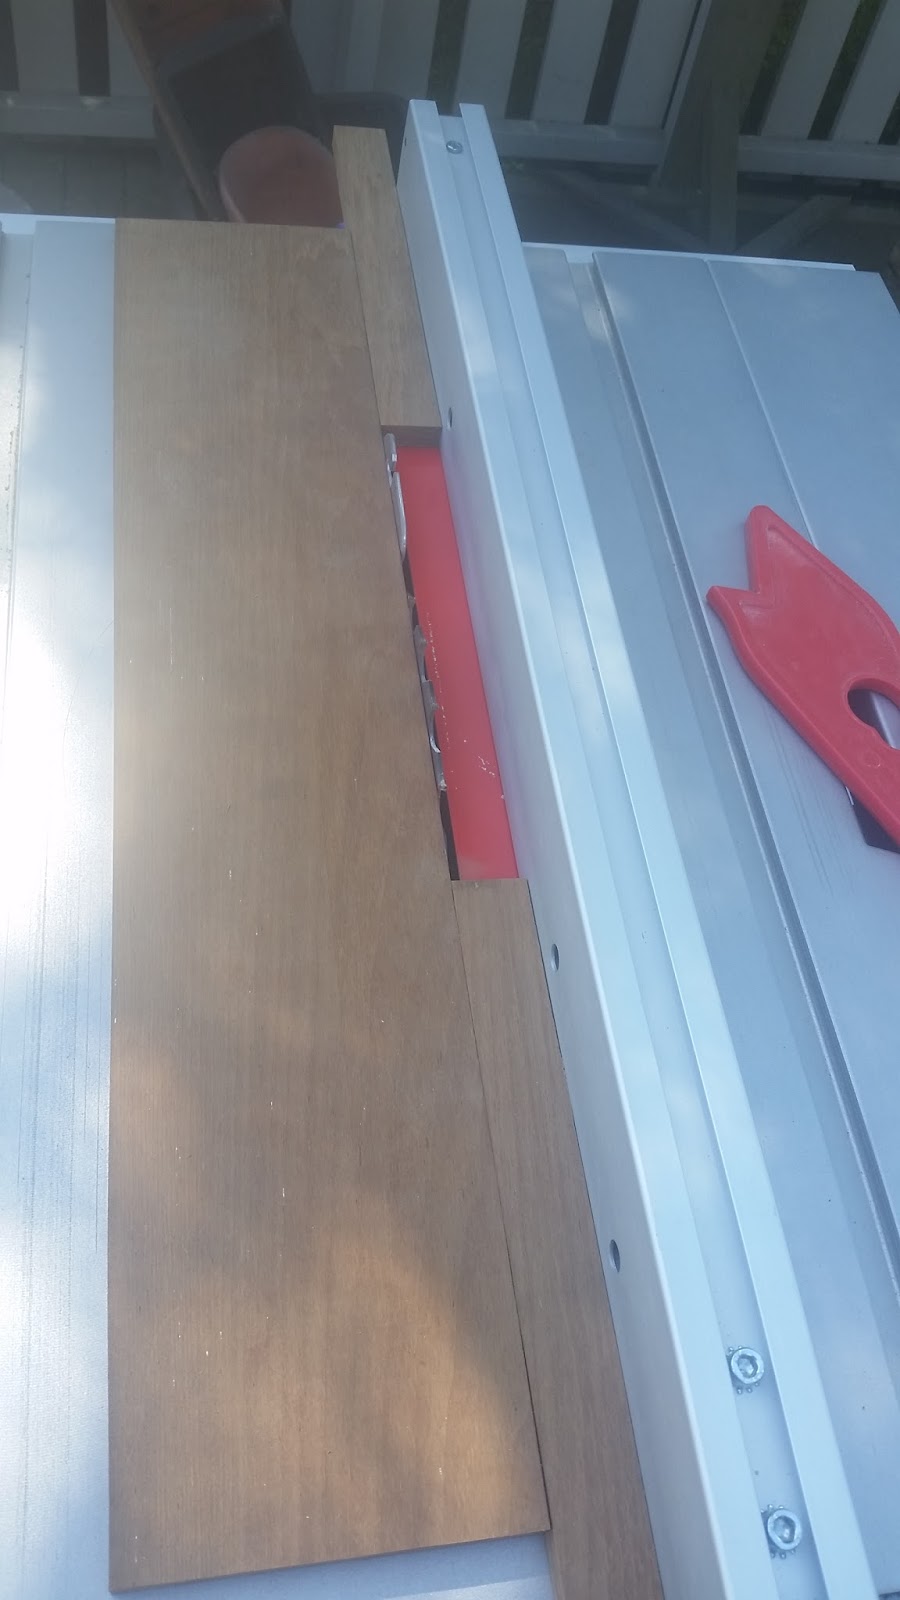
Setting the width of the cut for the back pieces.
Using the freshly cut back pieces and one of the shelves to set the width of the cut out.
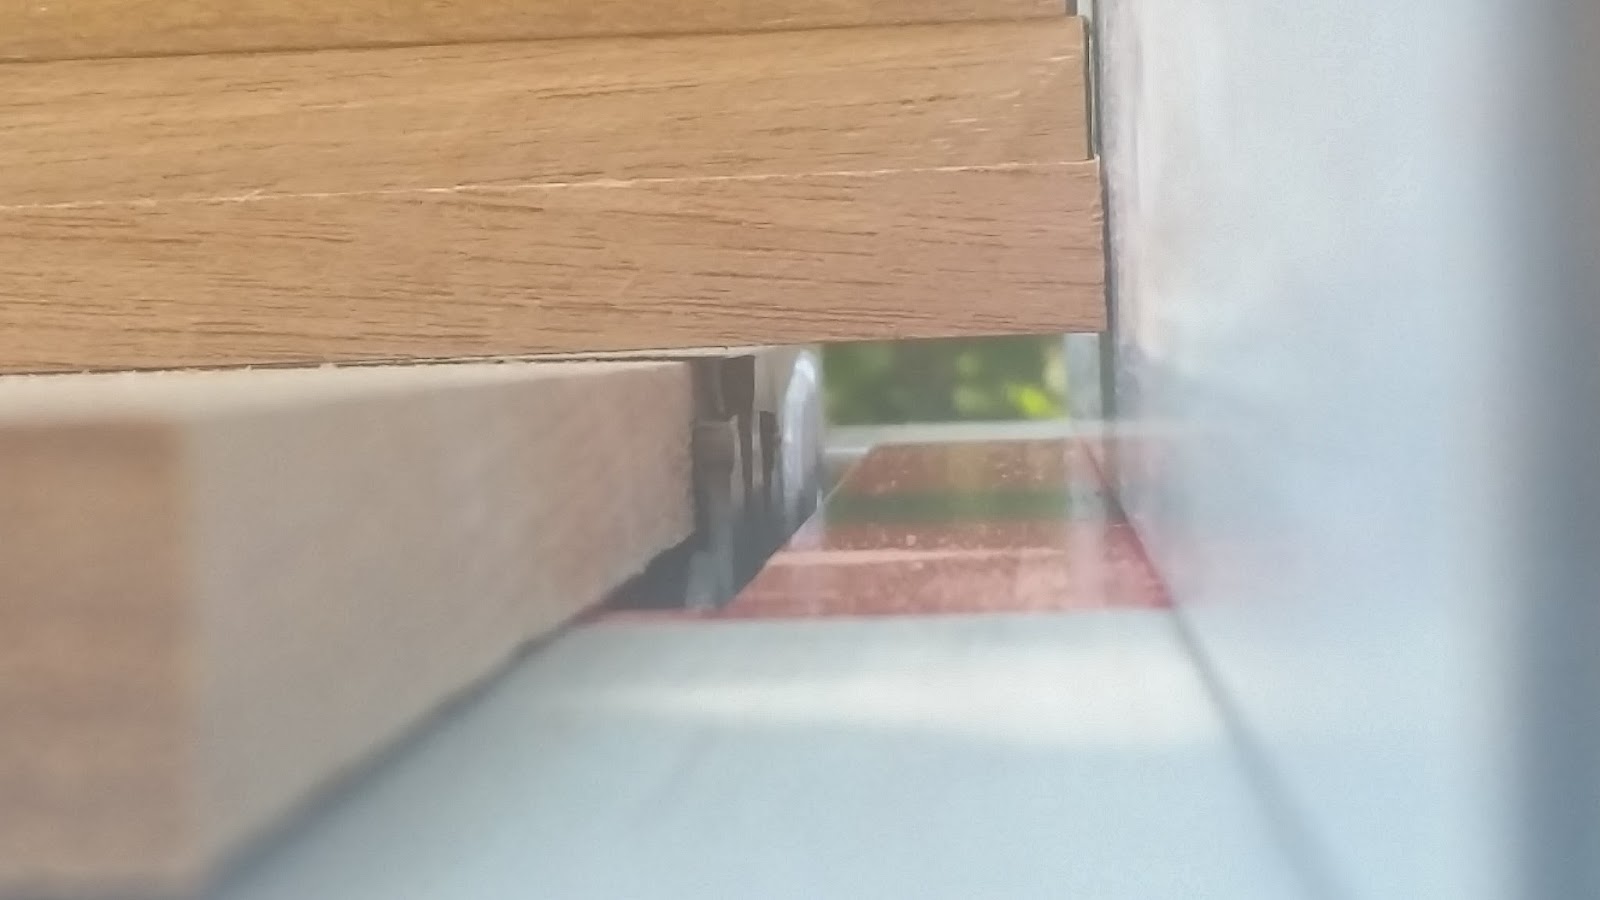
And off course, setting the correct dept of the cut too.
Using the same piece of old wood, making sure the cut out is sized correctly.
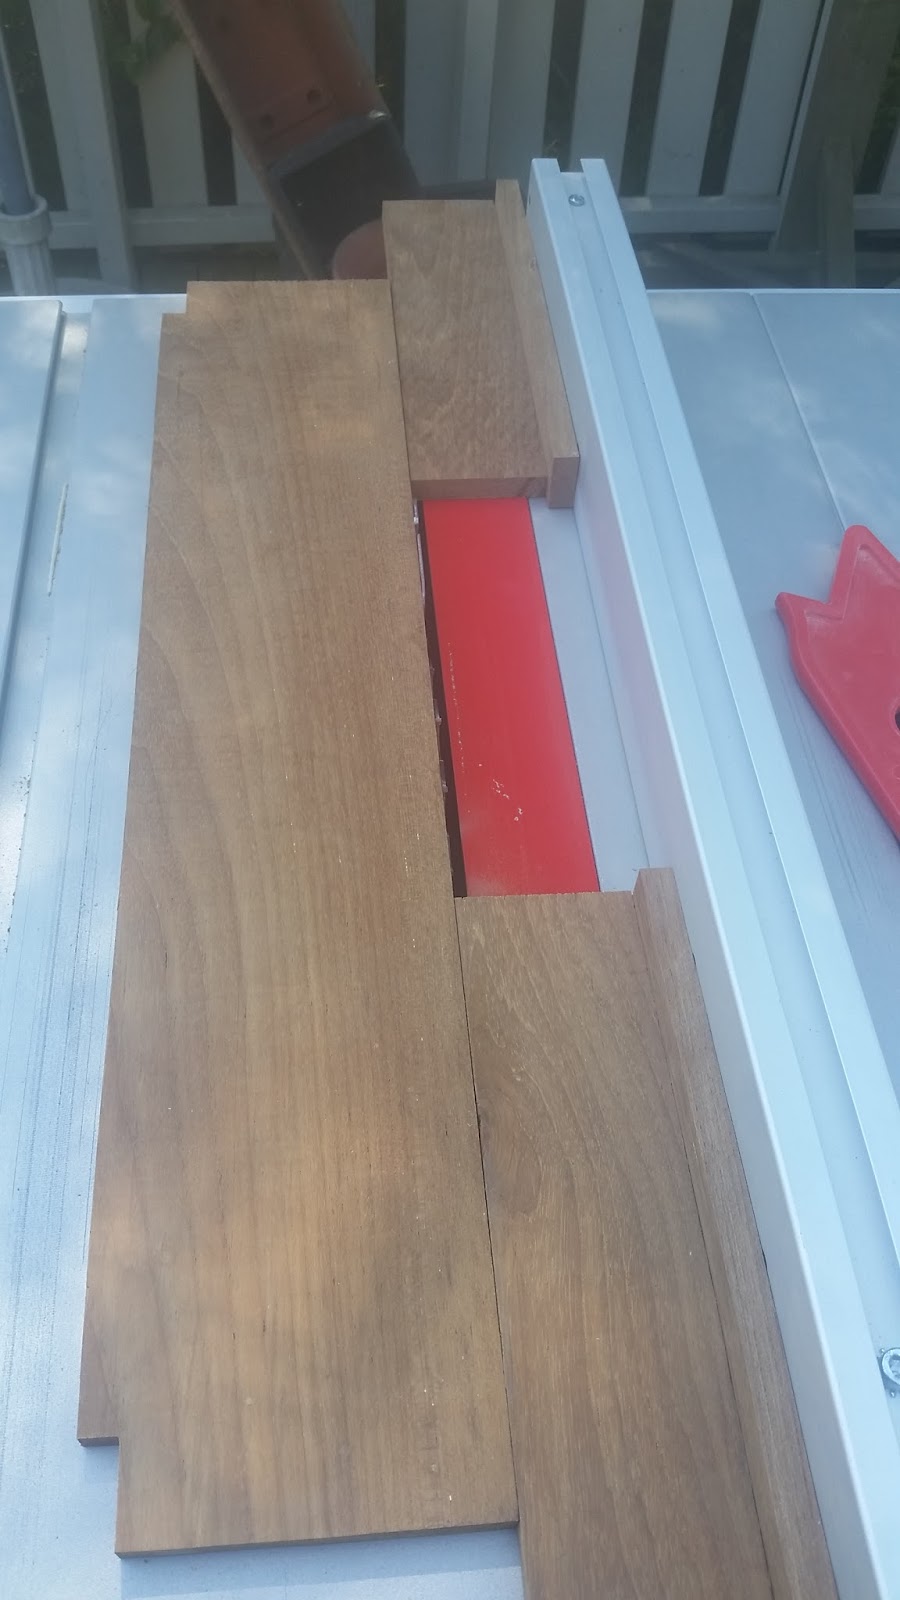
Setting the width of the cut for the cut out for the side pieces.
One of the lessons identified from making the prototype was the need to have secure control of the shelf when making the cut out on the narrow side. Securing the shelf to a sacrificial piece of wood solved the problem, and kept my fingers well away from the blade.
A nice, clean cut.
All the pieces cut and ready.
Using the prototype to mark out where the holes go in the shelves.
And the holes cut and sanded.
Unlike the soft pine prototype, I decided to predrill all the screw holes in the teak.
Starting the assembly. With the experience of the prototype, and the predrilled holes, the assembly was done fairly quickly.
Side pieces on, and ready to mark out the mounting holes on the back pieces.
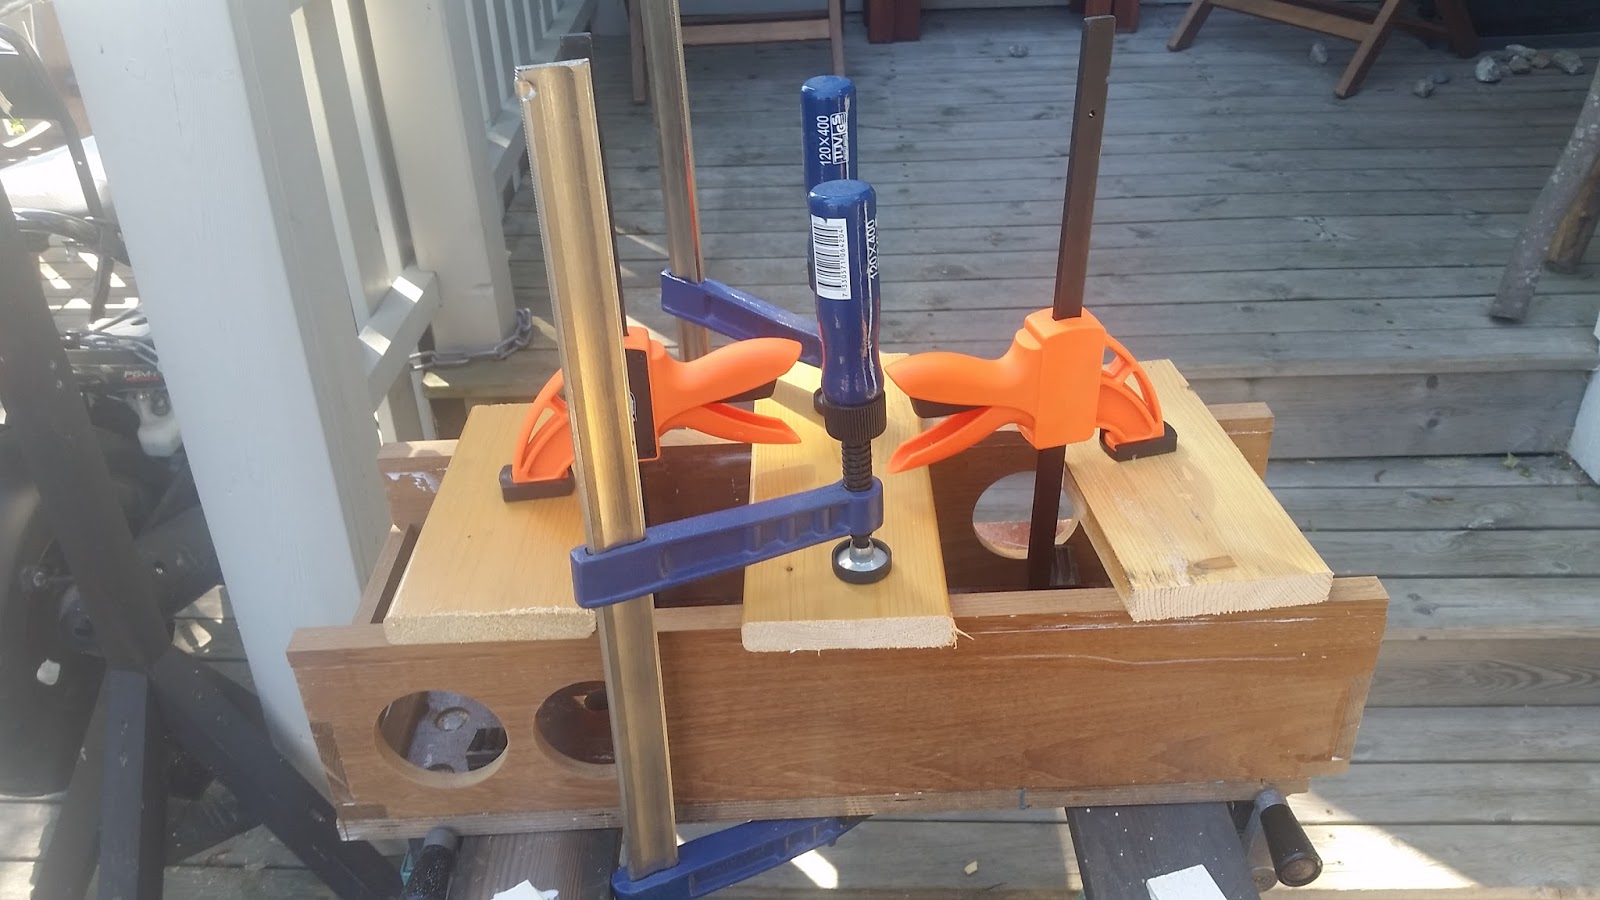
Preparing to mount the lips on the shelves.
The lips glued in place and put under pressure with a few clamps.
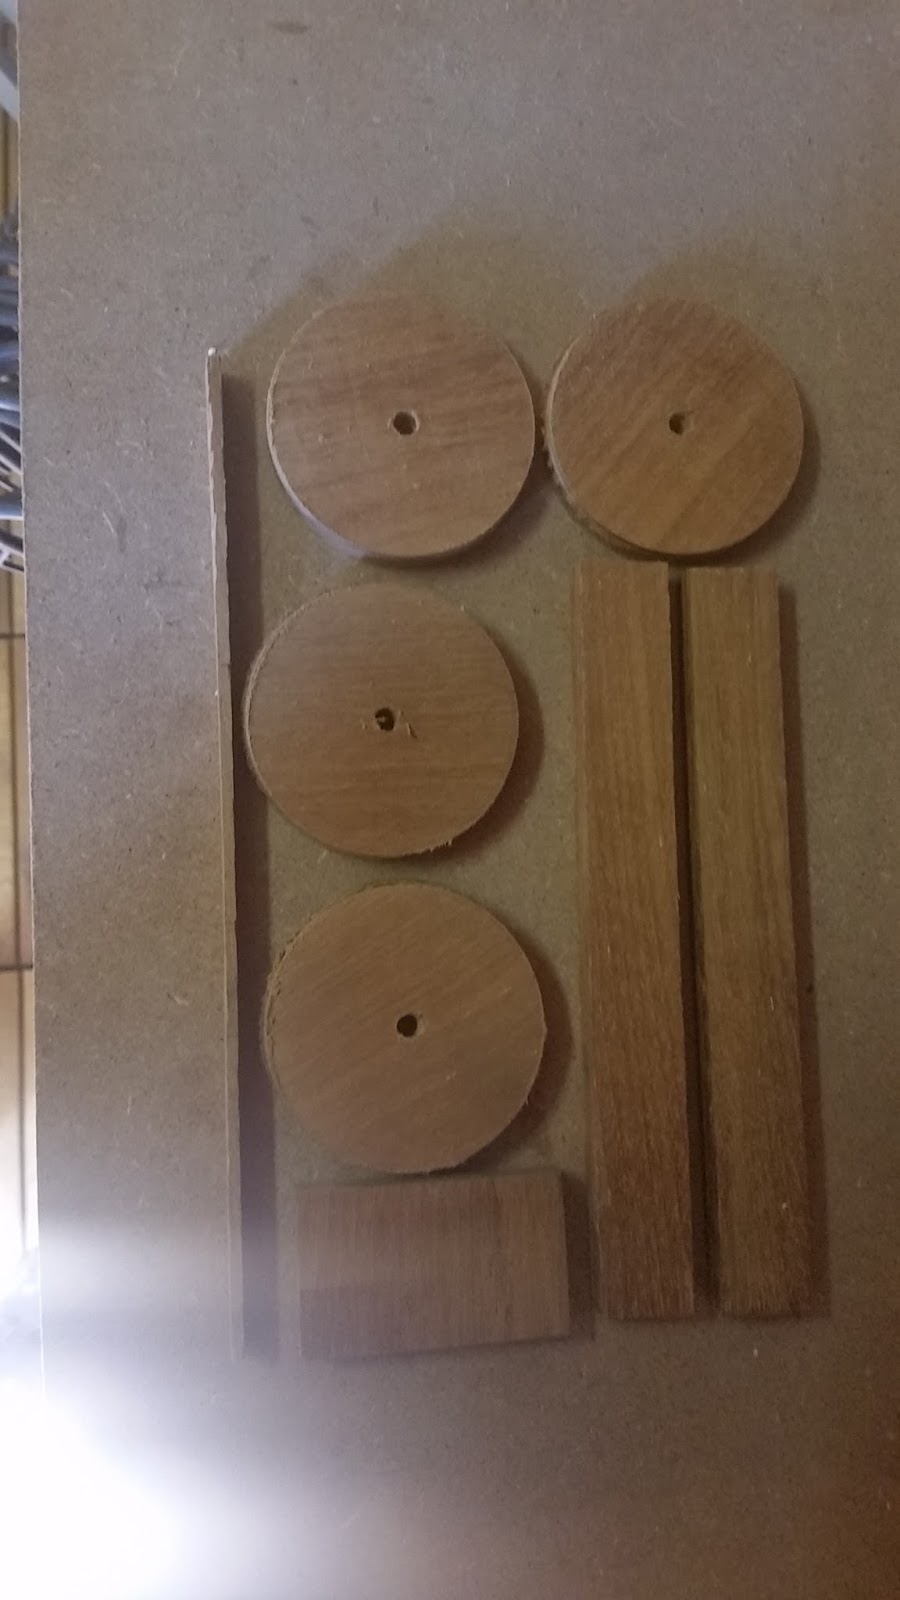
While the glue was curing, I tidied up. Thanks to making a detailed plan, this is the entirety of the “wasted” teak – and I already plan to use the two rectangular pieces to make gliders on a small crosscut sled for my table saw, so they are not really wasted.
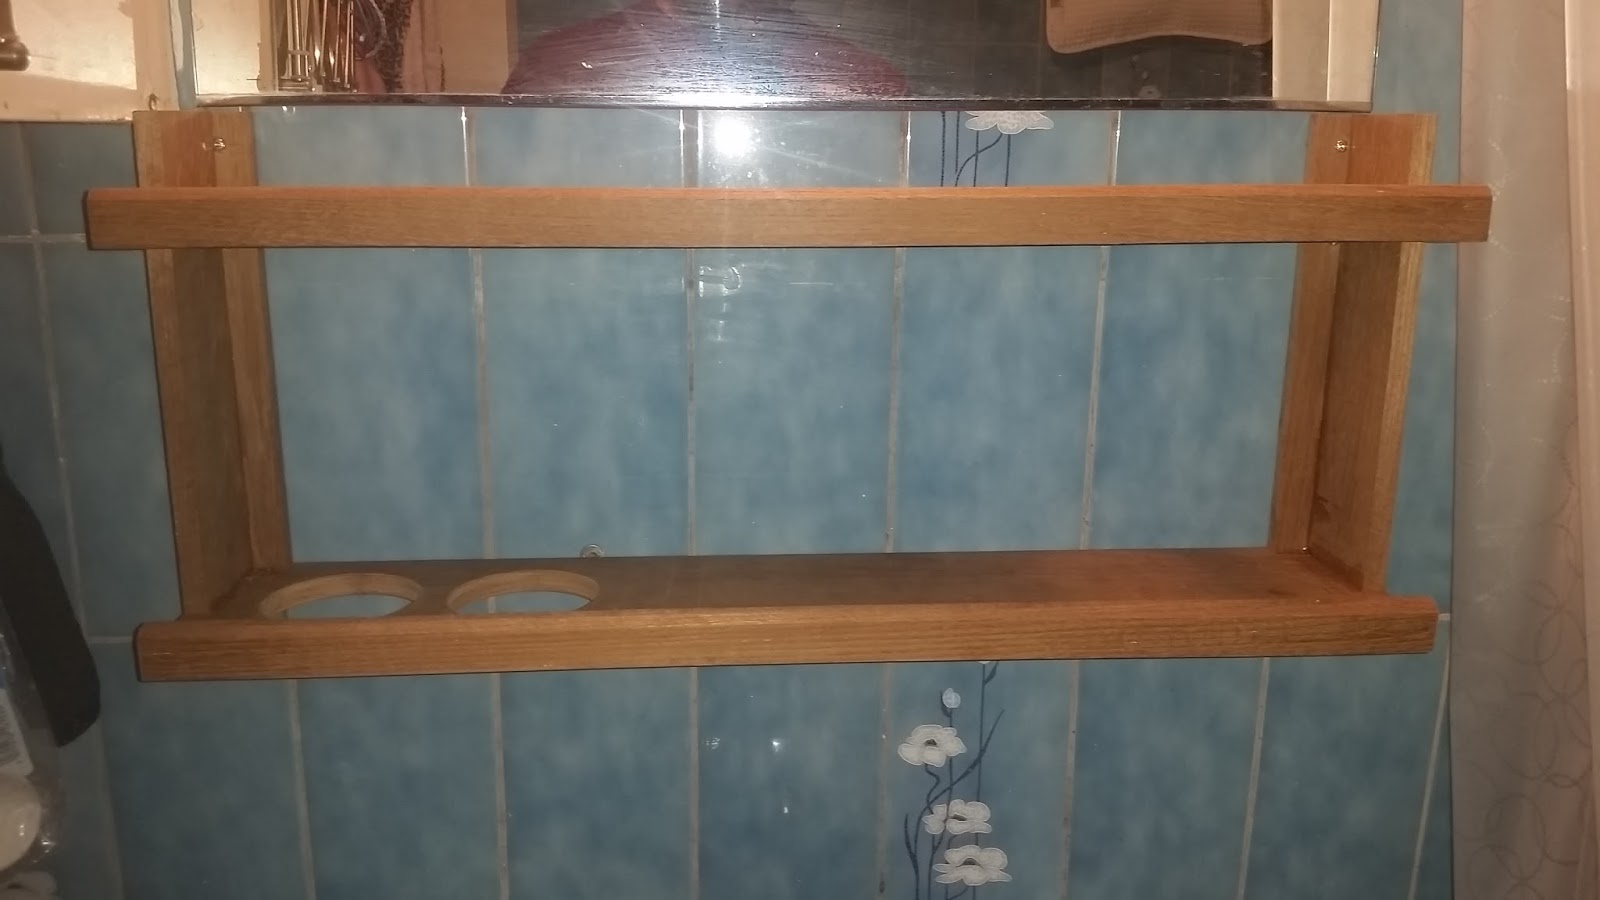
Thanks to accurate measuring, the screws slid right into the wall anchors that used to hold the old shelf.
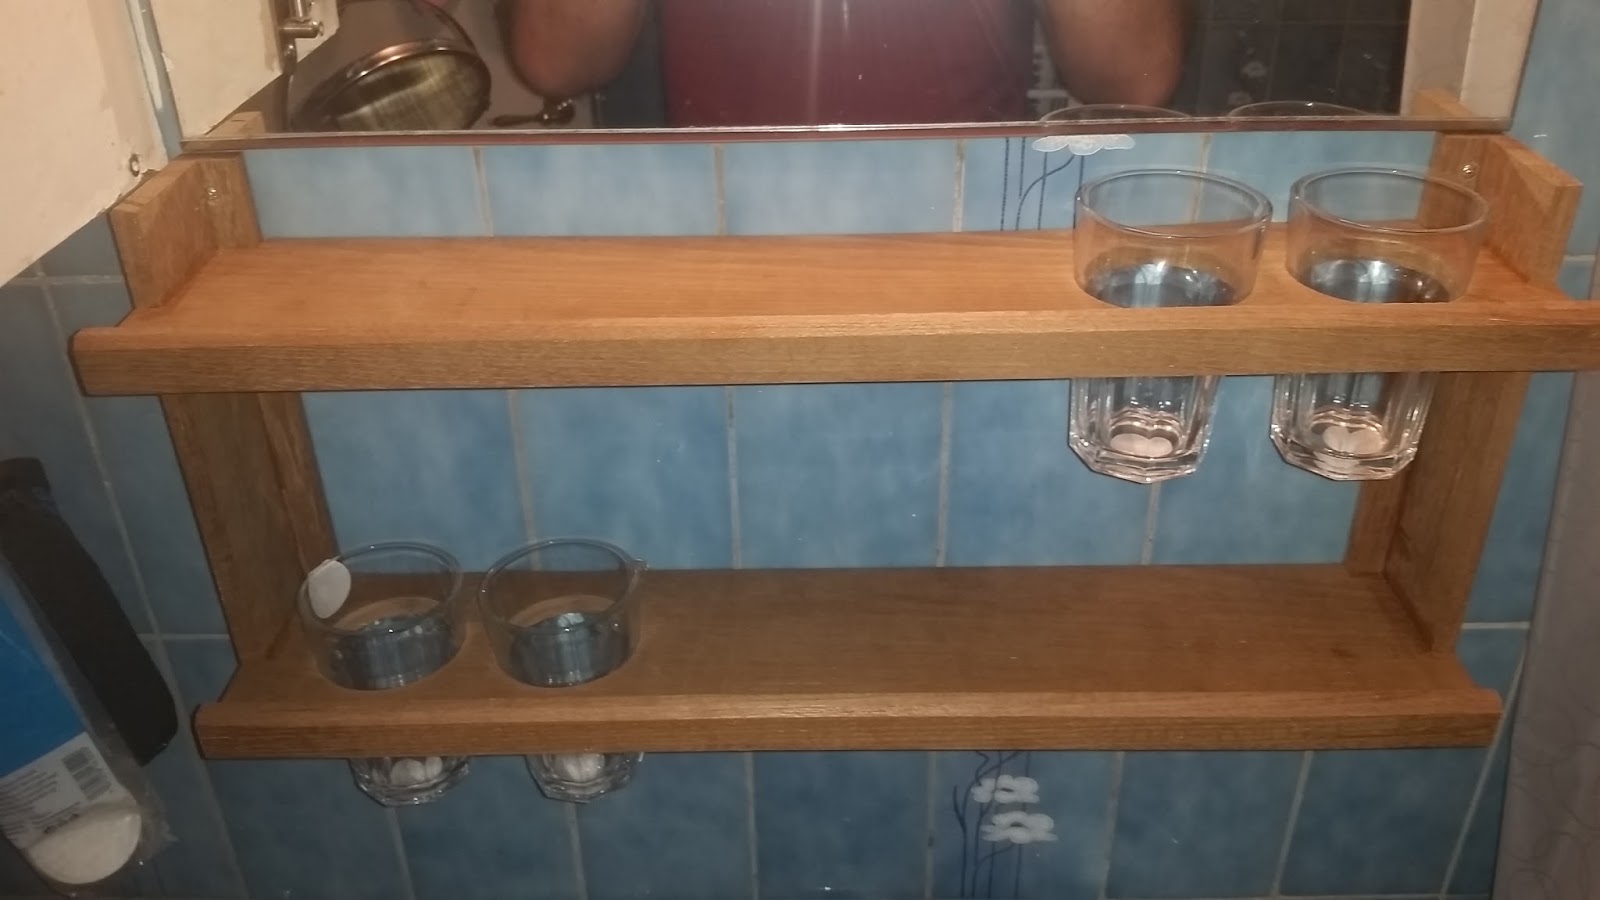
Pop in four glasses for storing things like toothbrushes, combs and hair scissors, and it’s ready to go. More than twice as much space as the old shelf, all without obscuring the bottom of the mirror like the old shelf did.
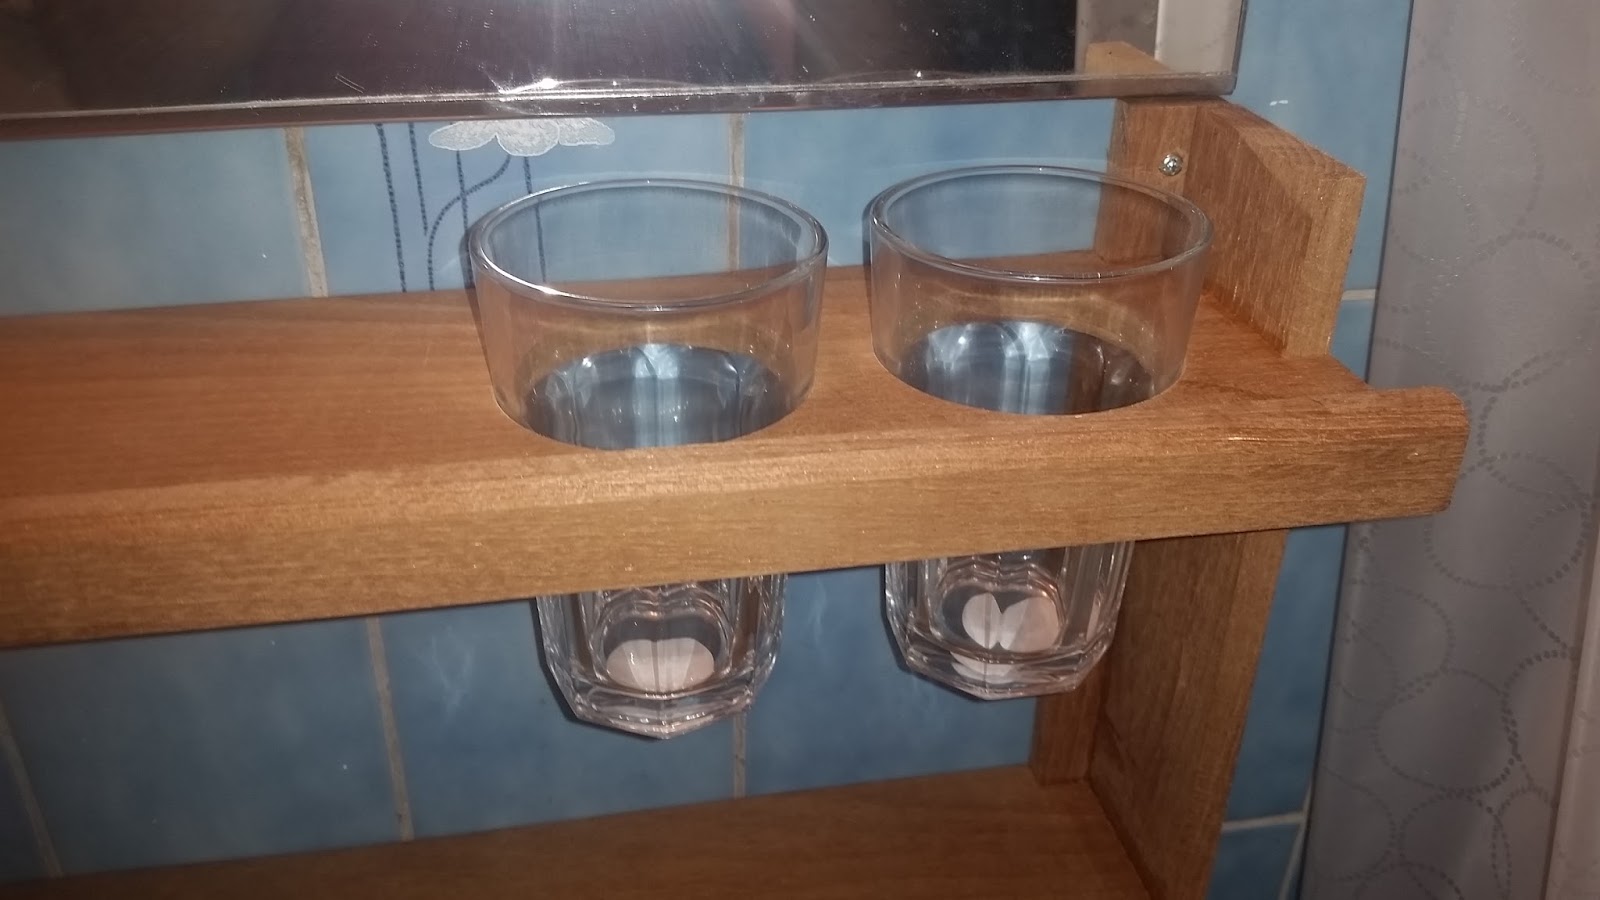
Just a close up of the glasses. They are cheap ones from the local equivalent of Big Lots or Save A Lot… cheap enough that I picked up two spares.
In the end both my Better Half and myself are very happy with the new shelf – we both got the space we need to keep our things in order, and none of it sits on the actual sink.
The main guideline throughout the project was “measure twice, cut once” – as opposed to the more common “measure with micrometer, mark with chalk, chop with axe” method – and it paid off. I believe anyone can make a shelf like this, even without power tools – it’ll just take a bit more time and elbow grease.
Like this:
Like Loading...